DIY Sewing- Batik & Embellished Linen Christmas Stocking

I was very excited with this project and couldn’t wait to see them above the fireplace. The complete tutorial can be found here : http://blog.fabricworm.com/2010/12/christmas-stocking-tutorial.html

Initially I was planning to have them all in linen fabric but later I found out it’s only enough for 1 stocking. While digging my fabric stash, I saw this mocha color batik and decided to pair it with the linen.. so here they are!


stocking 1


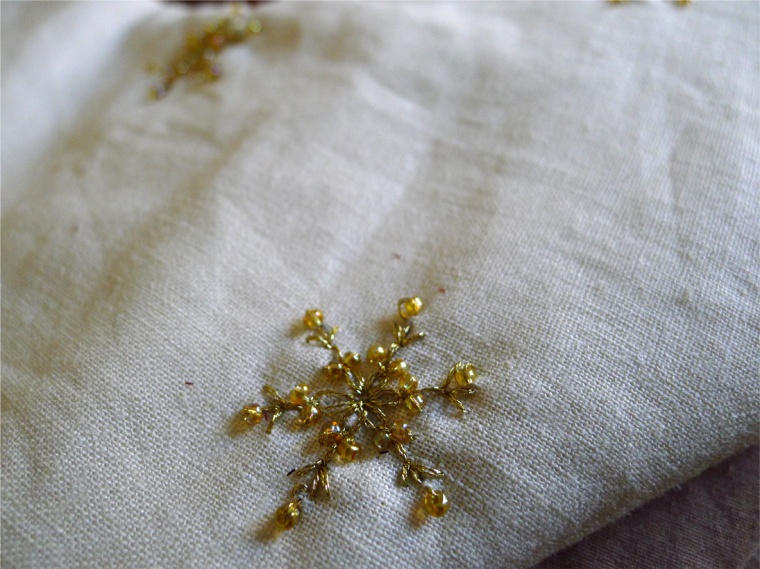
I did snowflake beaded embroidery to add some sparkle on the linen fabric.

stocking 2

stocking 3

Also made mini wreaths.

stocking 4stocking 5


stocking 6

stocking 7


Little Batik Dress

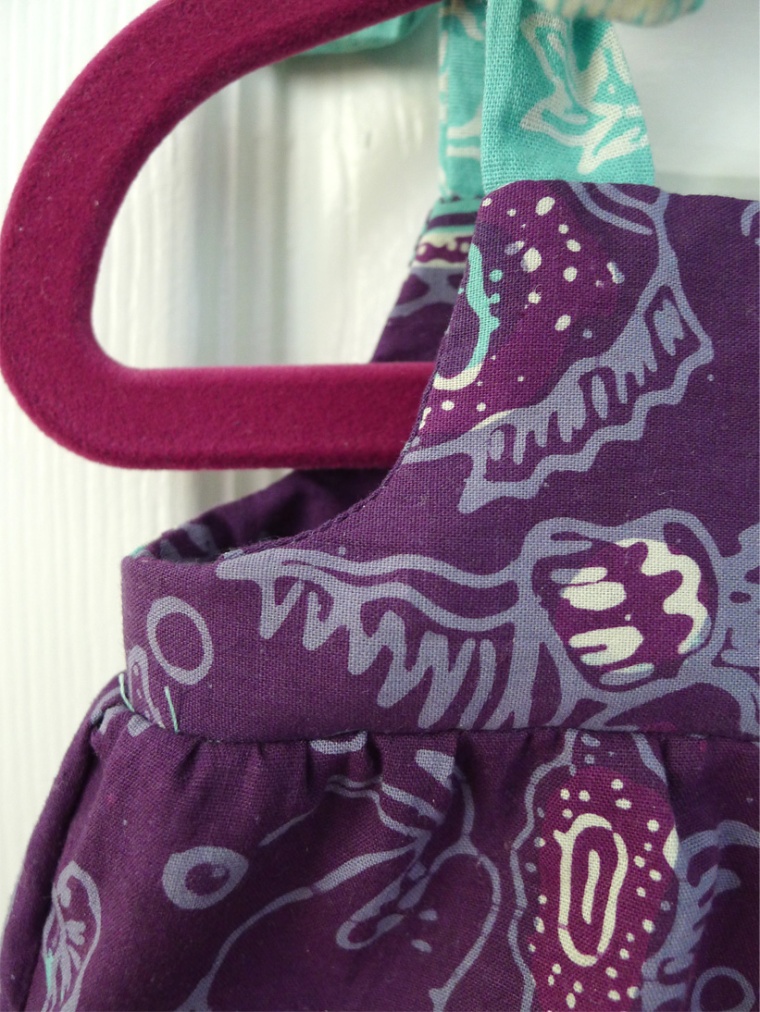
This is the first dress I made for my little one. The feeling when I see her in this dress is amazing, so pleased it fits her well. My mom used to sew us dresses and I’m happy that I’d be able to do the same for my daughter.


batik dress 1

The batik fabric is the one I bought from Jakarta years ago, it’s initially planned for homedecor project like the one I did here. When I was looking for materials in my fabric stash, I remembered I had this one and thought this batik fabric would work perfect combined with left over blue batik (for the shoulder ties and pockets). I do not have pattern or tutorial for this post, sorry… the pattern is made spontaneous and sewn  after my little one went to sleep, somehow it felt like racing with time between being sleepy and wanted to go to bed and being determined to finish it that night 🙂 …..I hope it still brings you inspiration.


batik dress 3

batik dress 6

batik dress 4

batik dress 7

batik dress 5


Believe it or not, the hardest part was actually to get a nice picture of her wearing this dress. Maybe she also felt the excitement I felt, she just kept running around and moving. This is the best I could get.


batik dress 2

Crochet Placemat with Batik Edge Binding – DIY

Balik lagi ke crochet addiction, kali ini idea nya dari link di sini. Sebenarnya versi original nya sudah cantik tapi rasanya kurang seru kalau cuma mengcopy paste apa adanya saja. Nah biar lebih fun saya modifikasi sedikit pattern nya, baris 18 dihilangkan dan langsung diakhiri dengan single crochet untuk trim nya. Sesudah itu tinggal menambah edge binding dr kain batik perca.

crochet placemat

Pas ngambil photo, jadi muncul idea memajang piring “bersejarah” ini. Critanya ini piring sudah travel 1/2 lingkaran bumi dari Pontianak sampai Atlanta. Ini piring peninggalan keluarga suami, dari generasi kakeknya. Walaupun bukan piring mewah atau fancy, tp sejarah keberadaan nya sudah cukup membuatnya istimewa… apalagi kalau membayangkan si little M akan menjadi generasi ke 4 yang memakainya.


crochet placemat 3

crochet placemat 1

crochet placemat 2

Personalized Ipad Case

I had been planning to make a new and personalized home for my Ipad since last year. When I found this cute fabric I thought well this is the time, even better I was able to use, again, the left over Batik fabric for its lining.

1. Material :

  • Cut 11″ x 9″ main fabric, cotton batting, and lining, 2 pcs each. ( or larger if you prefer bigger case for more room, I am using 3/8″ seam allowance ).
  • 18″ long zipper.


2. Place main fabric and cotton batting together, draw any pattern you like ( here are random big and small circles ), then hand stitch using contrast thread. Since I don’t have erasable pencil, I drew on the batting side to keep the main fabric clean. This is optional but I like to put this extra step to add nice detail and to stabilize the cotton batting onto the main fabric.

note : since the main fabric and cotton batting are now attached, I will name them together as main fabric in the next step, for typing efficiency.


3. Pin the zipper on the main fabric, right size facing together as pictured.

4. Sew 1/4″ from the edge. You can also sew the lining at the same time but here I separate the steps. Make sure to cut the zipper edge at the curve area as pictured.

5. This is what it looks like.

6. Place the lining on the top of zipper so that the right size of main fabric and lining facing each other with zipper sandwiched in between.


7. Sew 3/8″ from the edge, closer to zipper opening. This later stitch line will hide the 1st stitch line on the main fabric, the reason why I sew 1/4″ on the step#4… hopefully this is not confusing you 🙂

8. Sew extra stitch on main fabric along the zipper line just to make it looks neat. Continue with the 2nd pair of fabric on the opposite side of zipper.

9. Open the zipper, pin the main fabrics with right sides facing each other, make sure the linings are not included, Sew 1/4″ from the edge. Cut extra length of zipper. Next, pin the linings together right sides facing each other, don’t forget to leave at least 2-3″ opening for flipping the fabrics inside out.

10. Flip inside out. Honestly this is a scary moment since everything looks so messy and out of order, but don’t worry after this step you can have big smile :). Don’t forget to stitch close the lining opening.

11. Done! hopefully you enjoy the tutorial and good luck!

Earphone Pouch DIY

I saw this super cute pouch picture in one of DIY blog which name I forgot to save so hopefully the step by step instruction here is as close as the original posting and would be able to help crafty reader to make it.

I used the leftover purple Cirebon Batik as main fabric with stripped color coordinated fabric as the lining and tab. I can say that this is another Fun with Batik project and you will find me using many Batik fabrics in future DIY or sewing post, it really is so much fun also bring my feeling closer to my family and friends in Indonesia 🙂

1. Cut :

  • 1 pc of 4.5″ diameter main fabric, lining, and interlining
  • 2 pairs of half circle main fabric, lining, and interlining
  • 1 pc of 2.5″ x 2.5″ fabric for the tab

2. Prepare the tab

3.  Line and pin the 1st half circle main fabric, lining, and interlining with zipper positioned in between main fabric and lining. Right side of main fabric and lining facing each other.

4. Sew 0.25″ from zipper edge

5. Flip open the fabric to the opposite side so that interlining meets the wrong side of lining fabric.

6.  Sew the front side along the zipper line.

7. Repeat for the 2nd half circle on the other size.

8. This is what it looks like from the back.

9.  Move the zipper head to the middle ( half way open ) then sew the tab. The position of zipper is important to make sure you will be able to flip the fabric later.

10. Arrange the full circle fabric (with interlining in between, right side fabric facing outside) then put together with the sewed half circles. Secure with pins, make sure the main fabrics facing each other.

11. Sew about 0.25″ from the edge, trim the excess interlining just before the stiches, cut the excess zipper, then flip inside out.

12. Sew along the edge of circle, put the key chain/ ring and done!!!.