DIY Rustic Picture Frame

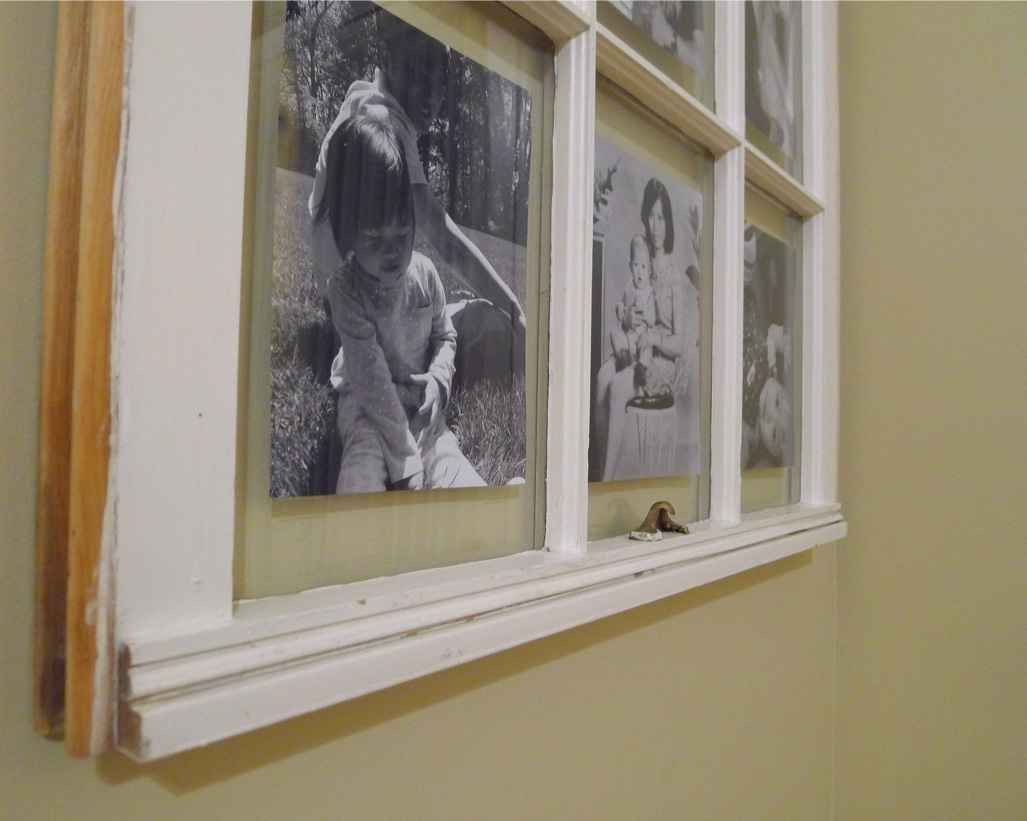
Recently we just changed all the windows in our house, there were old one pane wood windows original to the house when it’s built. I actually like those old windows, though they look old and outdated but they were full of characters. Considering how much energy wasted if we keep using them, we decided to changed it, and our power bill went down right away the next month after installation.

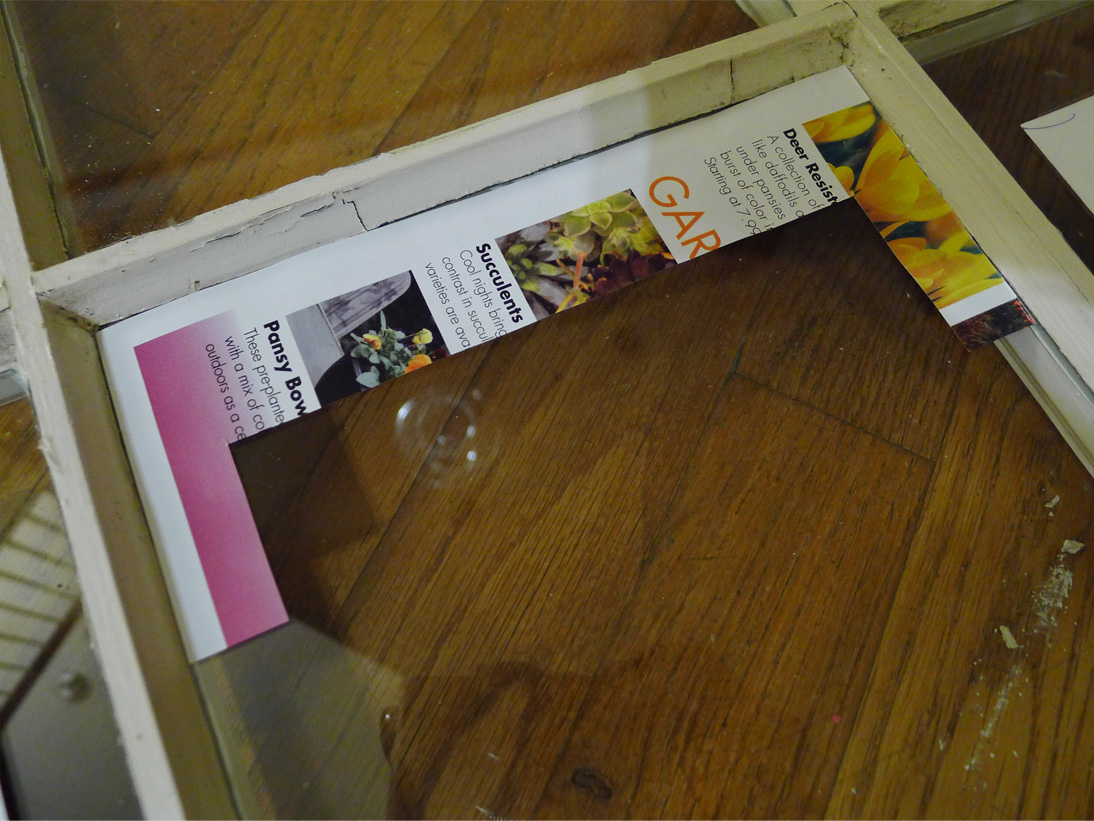
I kept one window, picked the best looking one, and use it as picture frame. Instead of refinished it I used it as it was after cleaned it thoroughly. I like how its scratch, old paint, chips, dents, holes tells the story of it existence. Thank you for being the window for this house for 24 years and I’m grateful how it now serves its new role as Rustic Family Picture Frame.


Rustic Pic Frame 1

I printed the photos in black and white 6x8inch, I think this is the best in this project… Sepia will do well too.

Rustic Pic Frame 2


Make a mat to get a center and uniform position, so you don’t have to measure the frames one by one.

Rustic Pic Frame 3

Rustic Pic Frame 4


Love how it turned out. Hope this inspires you!

Rustic Pic Frame 5

Embroidery Hoop Wall Decor

I’m sure you’d agree with me that Pinterest is a fantastic source for ideas and inspirations. I could spend hours just looking at tons of pictures there, well that’s before I have my little M … now I’d be lucky to be able to visit it once a day :). There was a pin in home decor section using embroidery hoop for wall decor, the inspiration for my project to make DIY wall decor for my baby’s room, so here it is hopefully it inspires you too!

hoop 12

1. Attach the fabric background onto the hoop. I used plain creamy fabric to get vintage look.

hoop 1

2. Print & cut the letters, trace & cut the felt.

hoop 2

hoop 3

3. Stitch the felt letters to the fabric.

hoop 7

hoop 8

4. Satin Peonies.

You can find many videos in youtube about how to make fabric flower with this technique. To get a nice layer I used more than 1 color, cut them in 3 diameter sizes, cut the edge into 5 parts,  slightly burn it, then stack them together and secure by stitches. I made these flowers last year, actually I was thinking to make them as headband, so I don’t have photos showing details step by step, sorry :(.

hoop 4

hoop 5

hoop 6

5. Cute butterfly

To add contrast to the pink color theme I used aqua blue scrap fabric from last batik project, wire for the wing frame, and crocheted gray yarn for the body.

hoop 9


hoop 10


hoop 11

6. Put all together.

hoop 13


hoop 15


hoop 14

Koala Crochet & Initial Art – DIY

When I found the crochet pattern (link : Koala pattern) for this cute Koala, I couldn’t resist to try it right away … such a cute amigurumi. I made  a pair of it then put them with M wood initial for my baby nursery. Hopefully my little M will like it as much as I do …happy with how it turns out.

M is for Michelle


Making each parts.

Koala 1

After stitching all parts together.

Koala 5

A pair of it posed together 🙂

Koala 3

Koala 4

Koala 2

The wood initial for my little M.

Koala 6

Done!!

Koala 7


Koala 8


Alphabet Wall Decor

I’ve had this pretty wrapping paper since last year, it was from WorldMarket. At that time I had no idea what it will be used for, it was just so pretty I couldn’t resist to grab it. The color is one of my favorite, the drawing looks like hand painting, and it’s thick with luxury texture.It works well with the wall decor I recently planned to make for the special room I am decorating at this moments. The wall decor idea is from Etsy shop. Instead of printing poster, I want it to be more personal with custom look, so here is my DIY Alphabet wall decor.

This is the printing poster from Etsy.

This rustic frame adds more nice details, like it very much.

The wrapping paper, pretty isn’t it ?

I used Sherwin William paint swatches for the letters, it adds depth to the finish instead of printing.

Wrapped the mat with wrapping paper, this is what it looks like before attaching the letter.

Print the letter on piece of paper, cut, glue to the paint swatch, then glue to the background.

Hopefully it brings you inspiration 🙂