DIY Floating Shelves

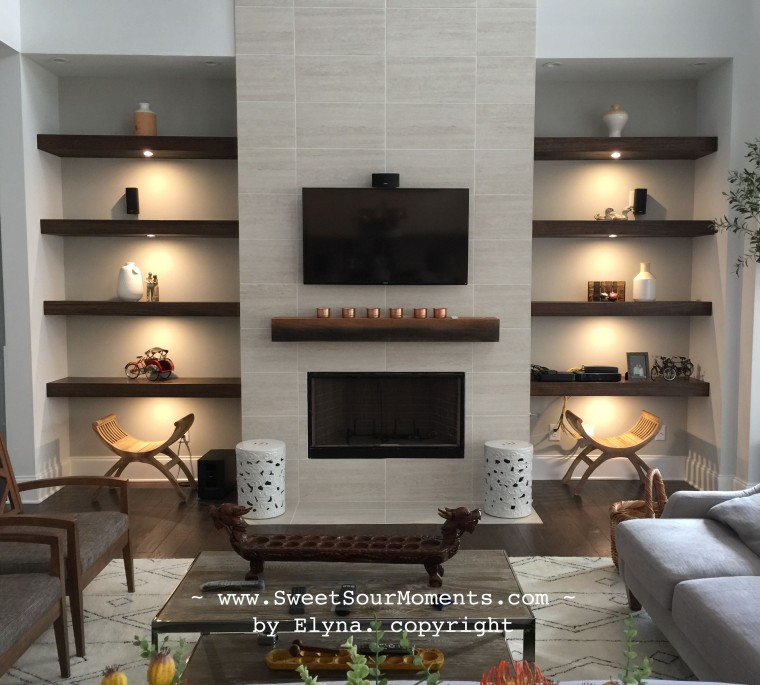
We have these 2 nooks beside the fireplace that are designed for built in bookcase.
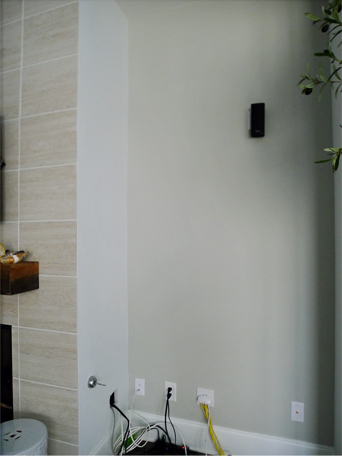
book

Rather than went with conventional built in style we chose the modern and simple design. Although it’s simple it gives a strong statement and really defines the room.

book9

I followed the tutorial from this link:

https://www.bloglovin.com/blogs/yellow-brick-home-1388645/diy-floating-wood-shelves-4310783535


Here is the process done in my house, lots of picture and less words 🙂

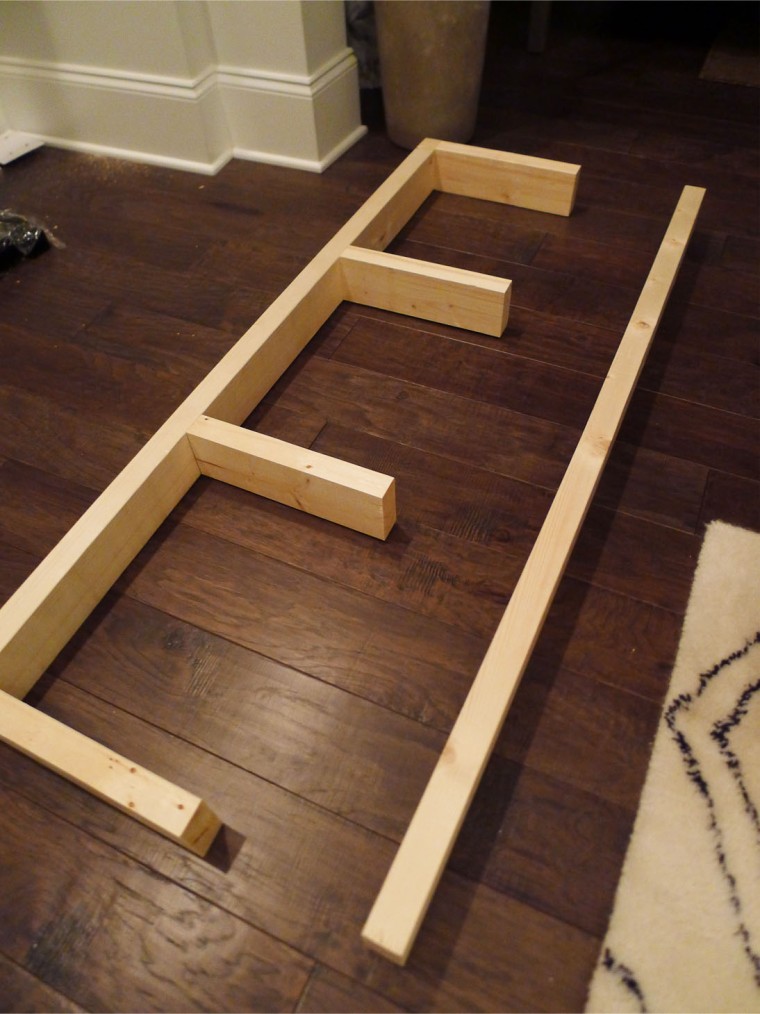
  1. Prepare the frames using 2×4 woods.

book2


2. Attach the frame to the wall. Use the stud finder to locate the wood frame behind the drywall.
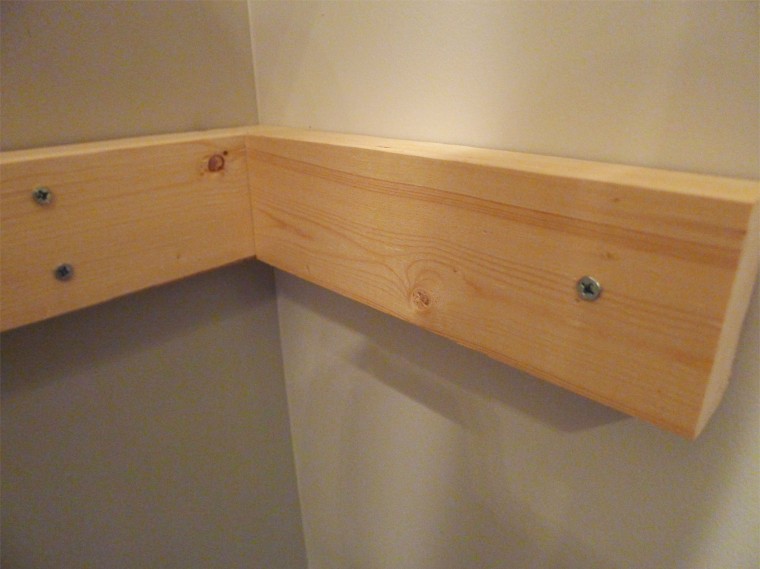
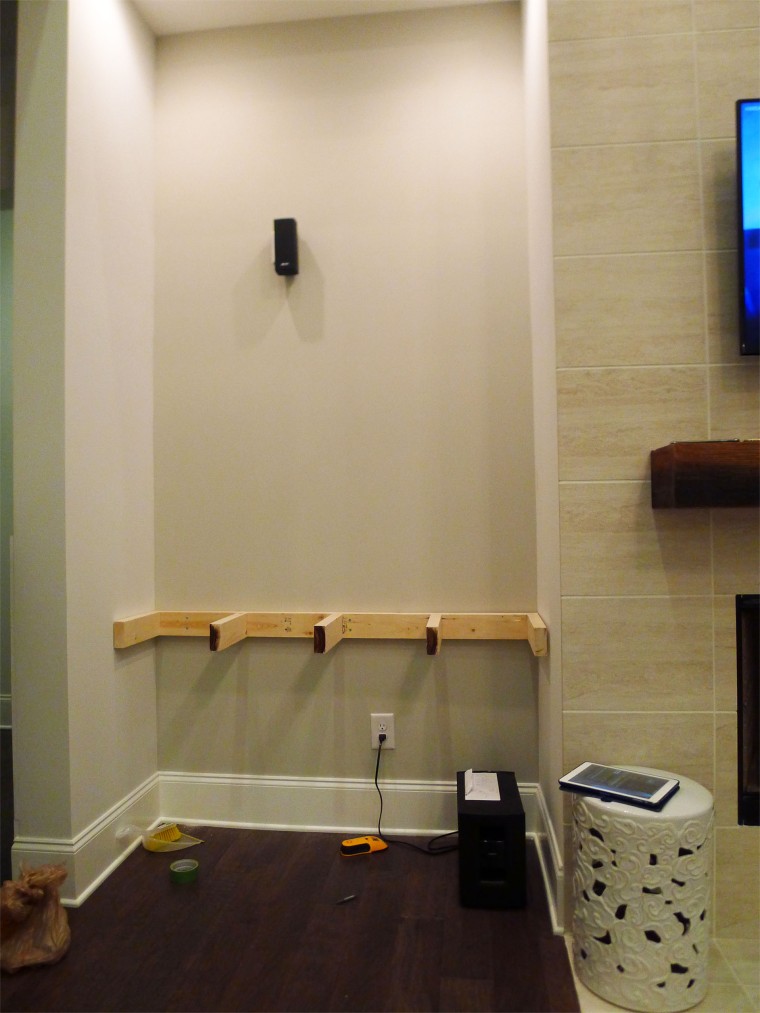
book3book4


3. Attach the front rails.

book5


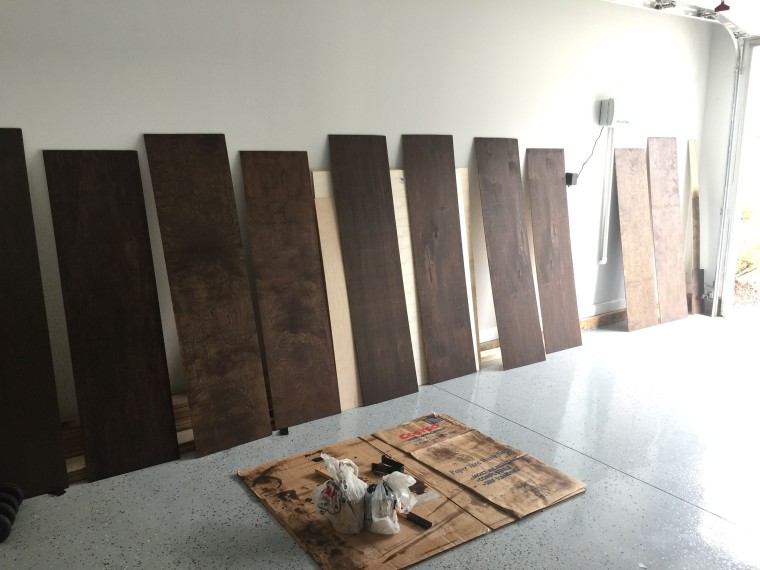
4. Prepare the wood strip covers for front  part and plywood covers for top and bottom. This step involves tons of sanding, staining, poly. The more sanding and poly you do the smoother the looks.
book6


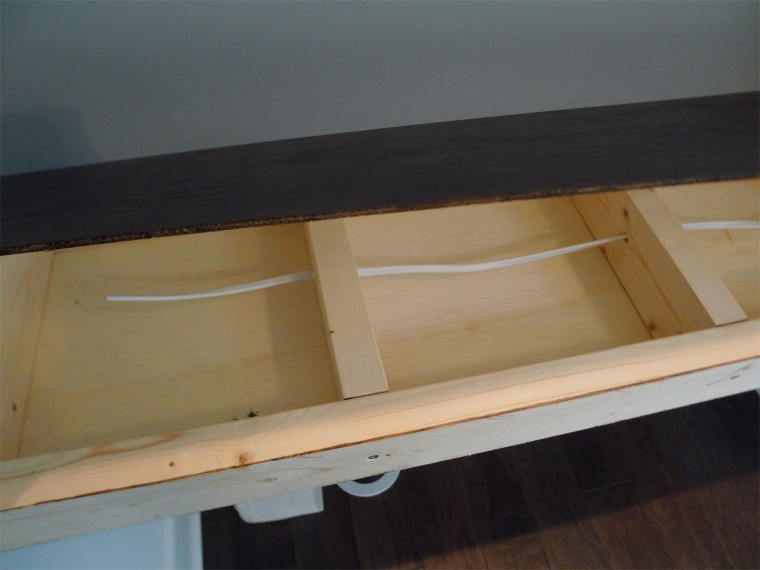
5. This step is when you are planning to install recessed lighting on each shelf.  Attach the bottom part first and run the wire inside the frame. Once the lighting is set then you can cover the top part. I also applied wood glue around the perimeter before you put nails, to prevent any gaps, in case the nails get loose at any point of time in the future.
book7


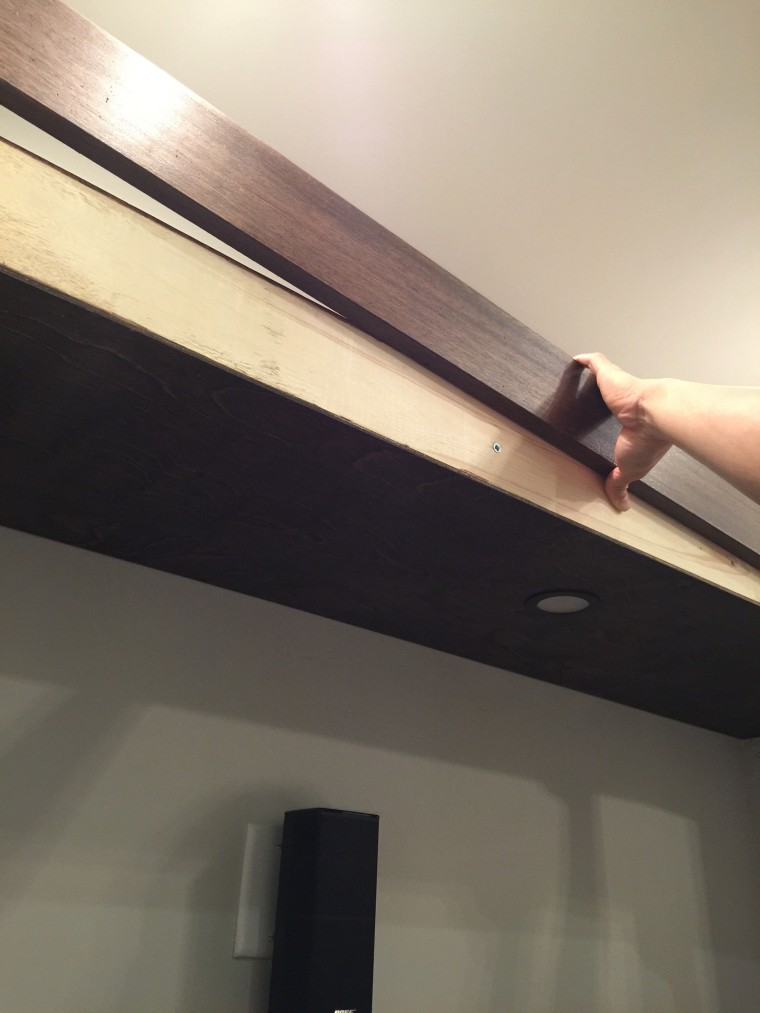
6. Laminating the front part with wood strip.

We got so lucky my friend gave us these 1″ thickness woods from bed rails that fits perfectly.
book8


7. Hope it inspires you!

book11

Chicks & Polkadot Dress

This is the 3rd posting of sewing children dress in a row. Seems like all I have been doing is just sewing and sewing dresses for my little one 🙂 … actually this is not a recently finished project, I made this 2 weeks ago and only be able to post it today.

The design is what my mom usually made for us, her children, pretty classic and timeless.


chicks and polkadot 1


The polkadot fabric is, again, left over batik fabric which complement the main fabric very well.

chicks and polkadot 2


chicks and polkadot 3


Do you see the miss match buttons? blame the spare buttons 🙂

chicks and polkadot 4


The best moment of this project is seeing my little one wearing it!

chicks and polkadot 5

Indonesian Kalasan chicken

This menu makes me feel “at home”, somehow makes me forget I am half of the globe away from my hometown. For those looking for recipe that incorporates turmeric, this may suit you.  This is Indonesian traditional fried chicken recipe, very popular and you can find it almost everywhere in Indonesia, though sometimes people use different name but usually we can tell from the basic taste, turmeric and coriander.


ayam kalasan 1


1. Prepare and cut the chicken. I hope this picture would give you idea about  the size of the chicken I used since I didn’t know its weight.

ayam kalasan 7


2. Prepare the ingredient: 1 lemon grass(cut), 2 fresh turmeric about 1.5″ each, 5 shallots, 4 garlic, 4candlenuts, 4 bay leaves,3″ galangal, and 1 tbs coriander. Ground the turmeric, shallots, garlic, candlenut, and coriander. My method is using food processor  by adding 1C of water, quick and easy.

ayam kalasan 6


ayam kalasan 5


4. A. Arrange the lemon grass, bay leaves, and galangal on the top of chicken in the medium pot.

B. Pour the liquid from food processor. C. Add water just enough to cover the chicken (not too much to make the chicken floating). Add about 1 tbs salt, taste it once the water start boiling, add more if needed. D. Leave it for 15 minutes(this is my additional step to make sure the chicken absorbs the seasoning thoroughly), cook for 1 hour until the chicken is tender.

ayam kalasan 3


5. Drain the liquid,  you can store it in air tight container in the fridge.

ayam kalasan 4


6. Fry in medium heat oil until golden brown, serve!

ayam kalasan 2

Crochet Rosette Brooch- DIY

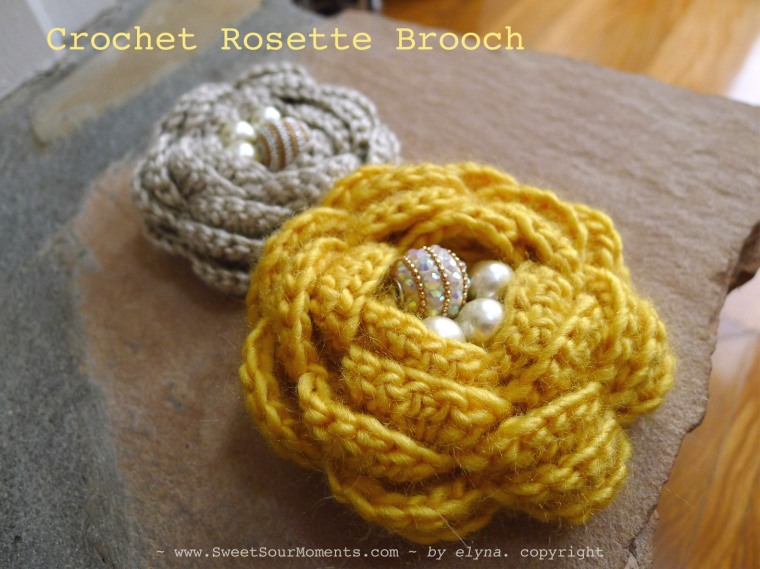
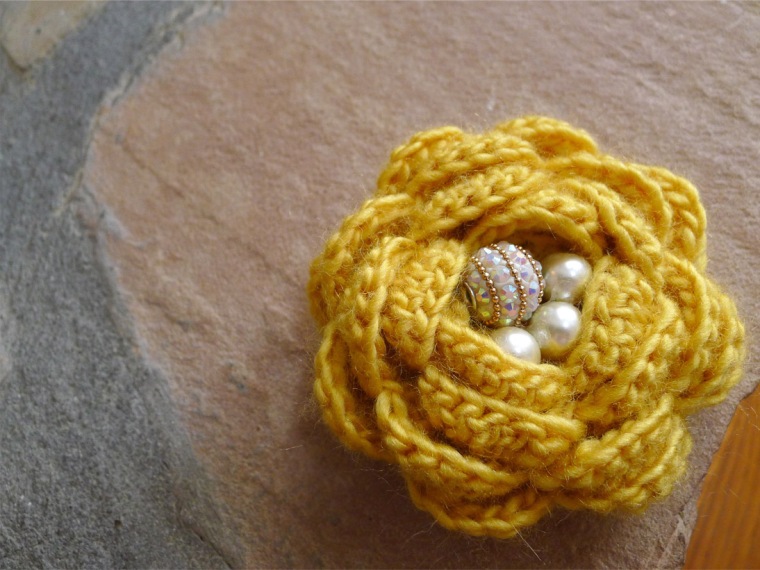
I have seen many pretty and cute crochet flower tutorial and patterns in internet. They all look great for brooch, but this one is my favorite, so elegant and perfect for my brooch project. I found the pattern in Ravelry.com by Daniela Herbertz. With some accessory pearls and beads, make it more custom look and feel fancy.


Rosette brooch 1


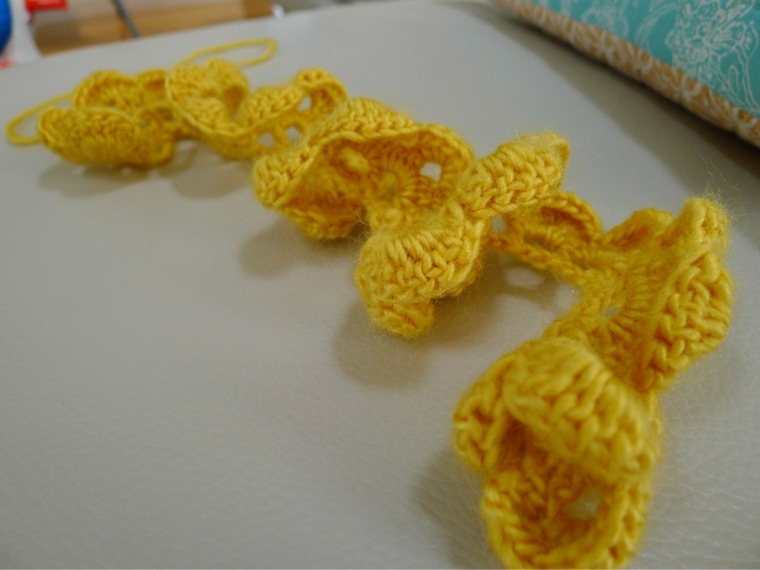
This is what it looks like once we finish the stitches.

rosette 1


Put it together to form the rosette, add the  pearls or beads.

rosette 3


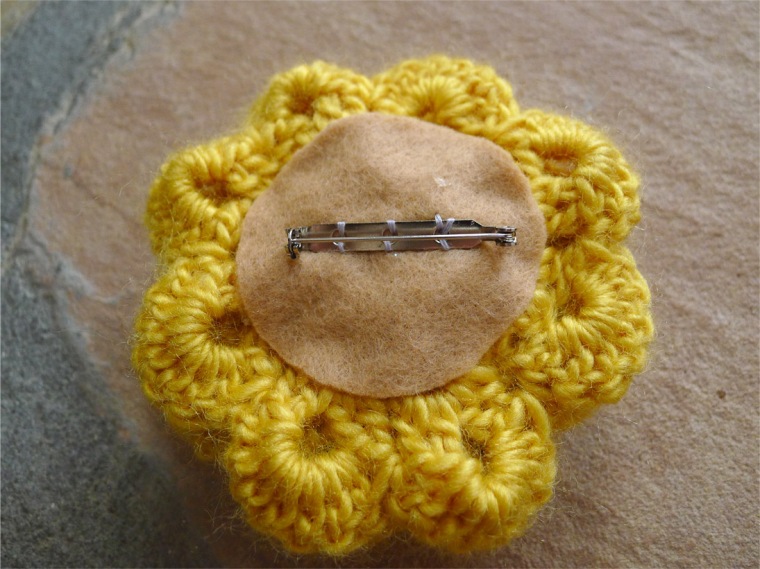
Add felt and stitch the pin on the back.

rosette 2


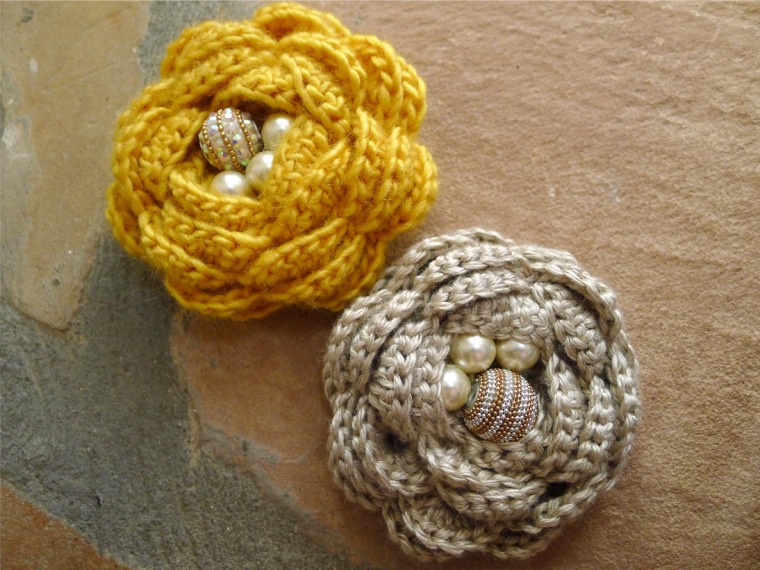
I made it in 2 colors.

rosette 4


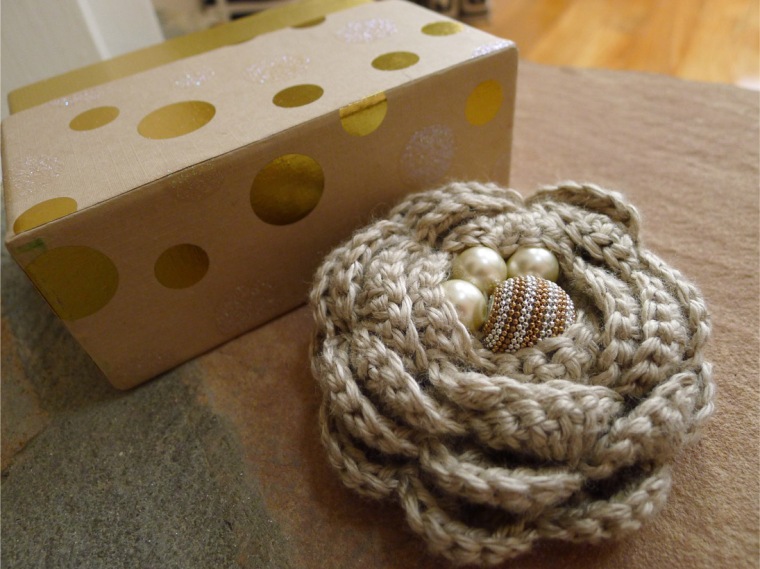
Perfect for gift.

rosette 5


Perfect for jacket, perfect for summer!

rosette 6