DIY Floating Shelves

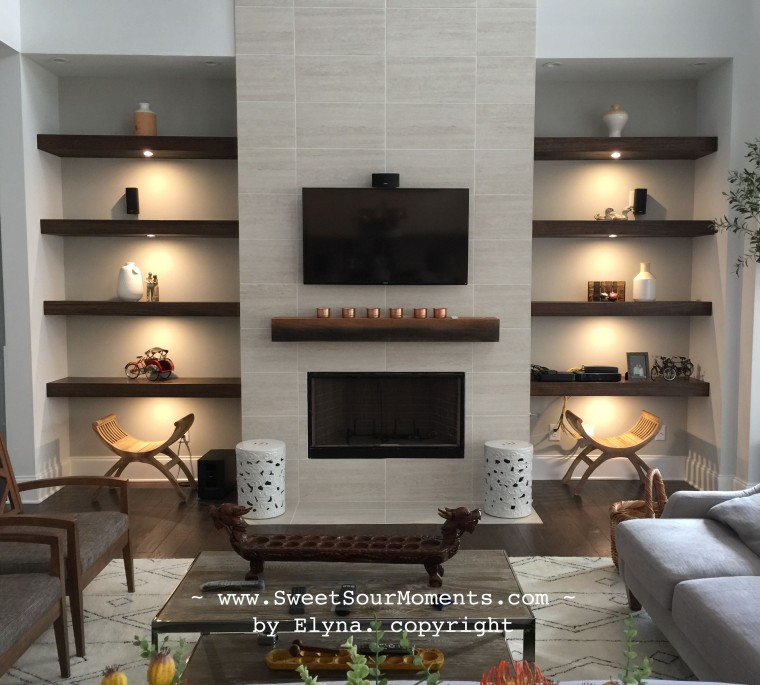
We have these 2 nooks beside the fireplace that are designed for built in bookcase.
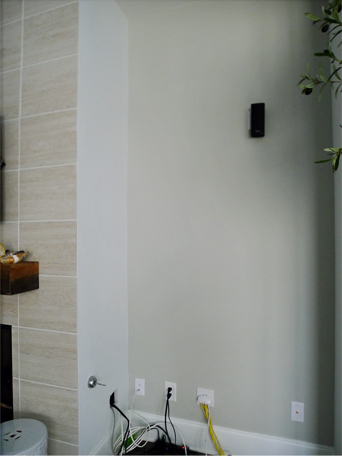
book

Rather than went with conventional built in style we chose the modern and simple design. Although it’s simple it gives a strong statement and really defines the room.

book9

I followed the tutorial from this link:

https://www.bloglovin.com/blogs/yellow-brick-home-1388645/diy-floating-wood-shelves-4310783535


Here is the process done in my house, lots of picture and less words 🙂

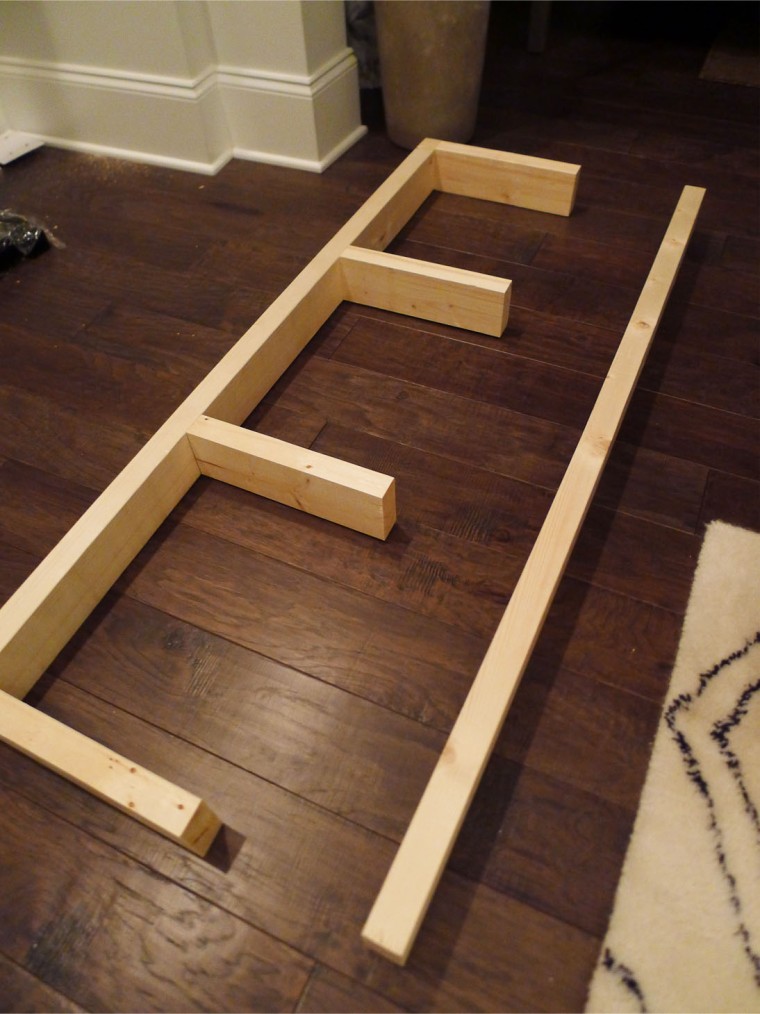
  1. Prepare the frames using 2×4 woods.

book2


2. Attach the frame to the wall. Use the stud finder to locate the wood frame behind the drywall.
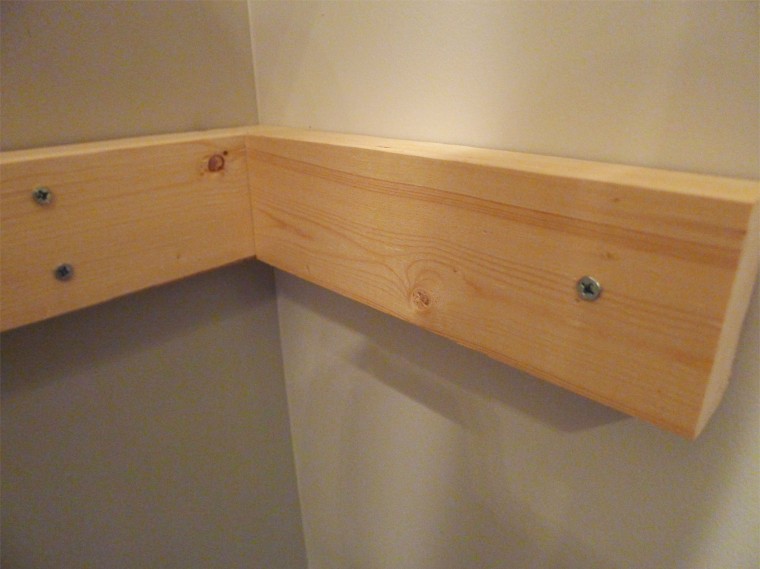
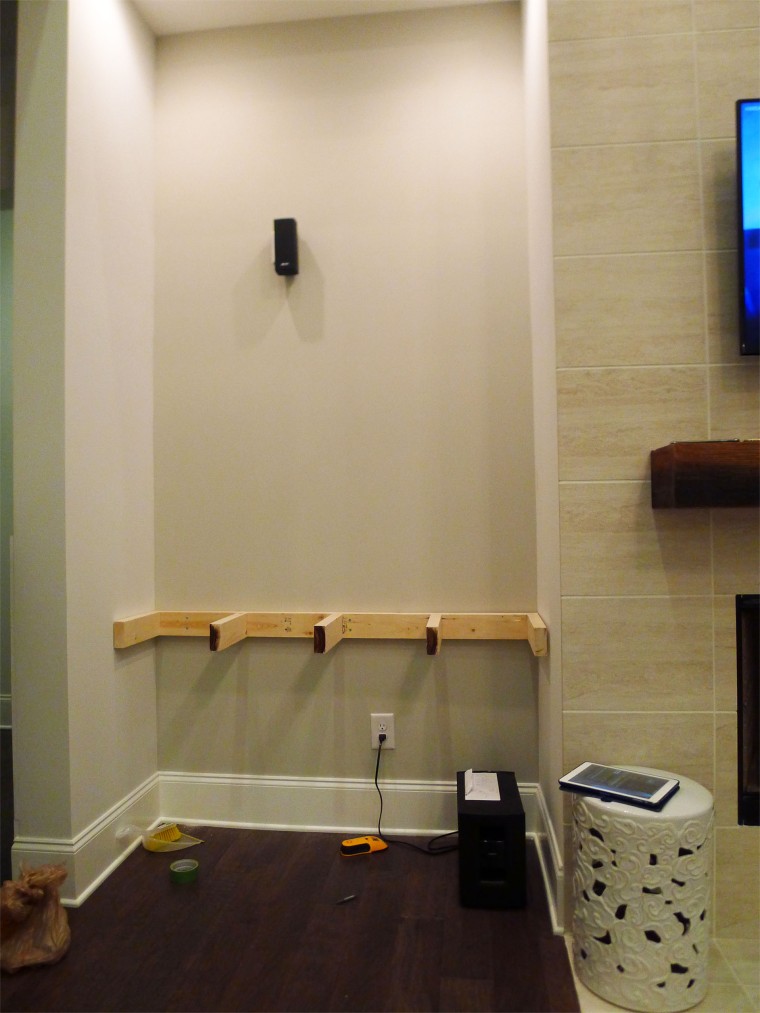
book3book4


3. Attach the front rails.

book5


4. Prepare the wood strip covers for front  part and plywood covers for top and bottom. This step involves tons of sanding, staining, poly. The more sanding and poly you do the smoother the looks.
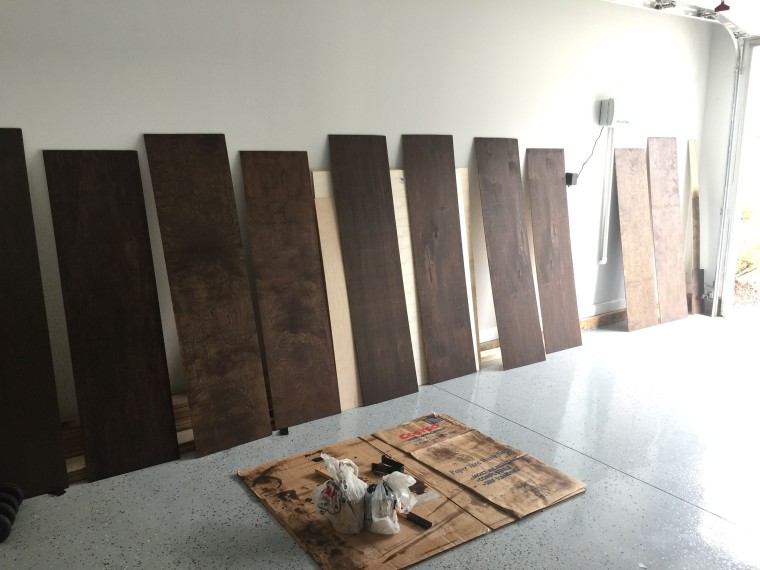
book6


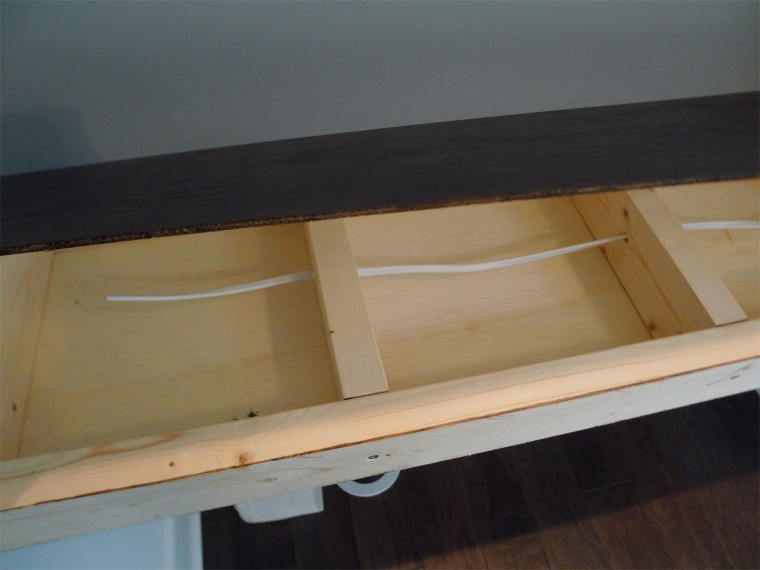
5. This step is when you are planning to install recessed lighting on each shelf.  Attach the bottom part first and run the wire inside the frame. Once the lighting is set then you can cover the top part. I also applied wood glue around the perimeter before you put nails, to prevent any gaps, in case the nails get loose at any point of time in the future.
book7


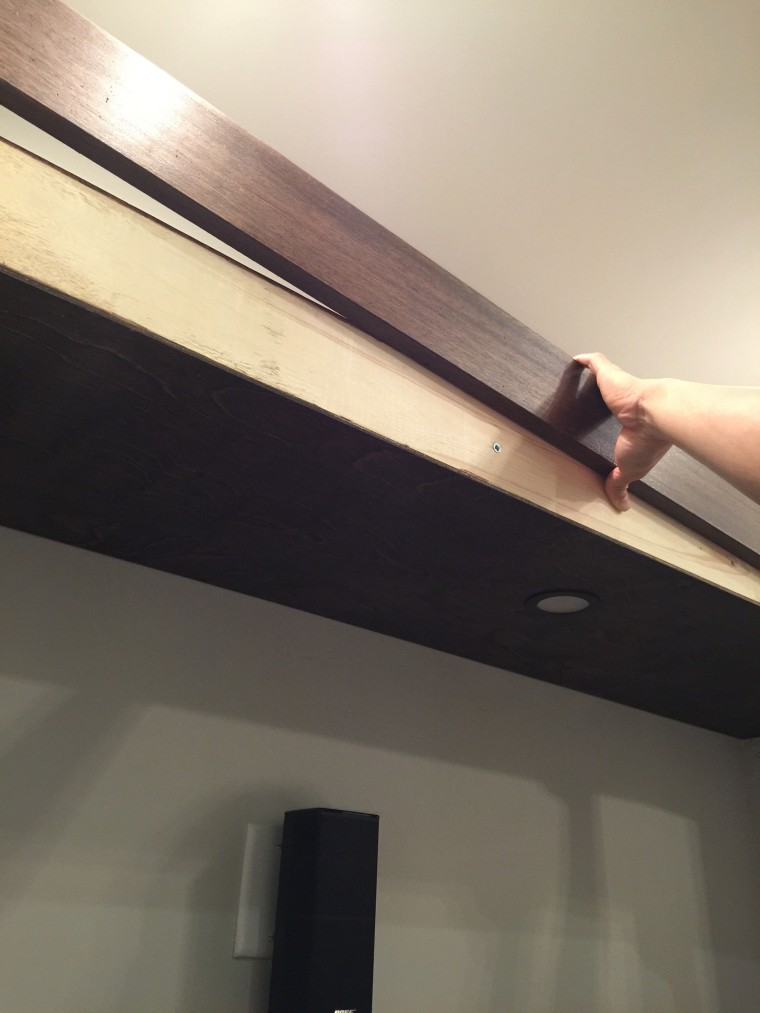
6. Laminating the front part with wood strip.

We got so lucky my friend gave us these 1″ thickness woods from bed rails that fits perfectly.
book8


7. Hope it inspires you!

book11

Silk Flower Bouquet

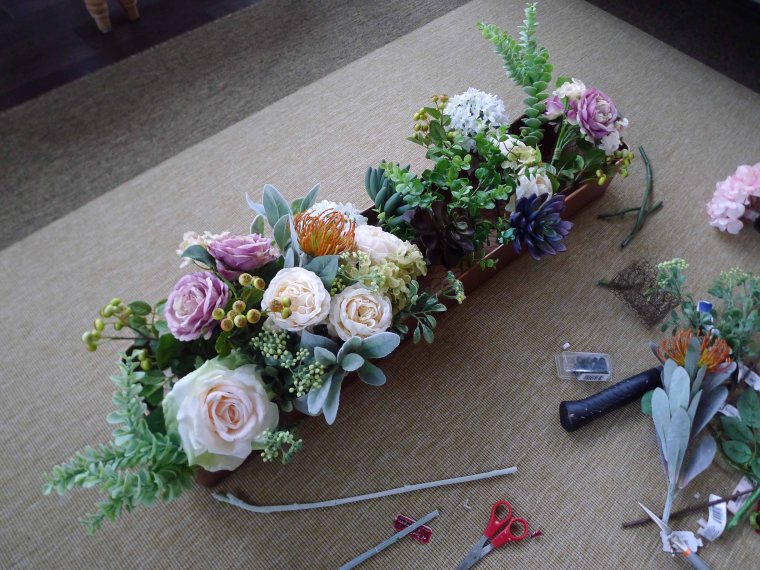
Over the years I bought quite a lot of silk flowers. I usually had flowers in each rooms, in big and small vases. Each vase was only for 1 type of flower. After moving to new place, I changed my decorating style leaning toward clean and minimal decor. I don’t want many small stuffs in a room, just enough quantity of big statement pieces. So I gathered most of my silk flowers and arranged them in one big copper planter I found at Ballard Design outlet.

silk flower arrangement

It’s a big planter to fill so I bought extra bushes and leaves. I have no rule for the arrangement but I like the wild flowers kind of bouquet, random and fun.

  1. Put wire inside the planter. I used wood pieces to stabilize and rise the wire.bouquet 1

    bouquet 2

2. Cut the flower stems to desired length. If you are not sure what is the best length, you might fold the stems and see how it looks first. You can always shorten it later.

bouquet 3

3. I know it looks like a mess at the beginning, just keep going, once it gets more flowers to fill the spaces it will begin to look better 🙂

bouquet 4


Hope it inspires you!

bouquet 5

Rapunzel Bedroom

Months before we moved in whenever I asked my little one what kind of bedroom she would like to have in our new place, her answer was Rapunzel room. I associated the room with purple color right away, the color theme of disney rapunzel. Well I was relieved she did not said pink or blue. I’m personally not a big fan of pink room and we had had blue room and I had enough of it. Purple sounds fun, soft, lavender, calm.. like it.

Then next question is what does Rapunzel room should have beside purple? Rapunzel picture? No.. the guy and the horse? of course no. I don’t want the room being overdecorated with Rapunzel knick knack that won’t last long. Something with purple and simple and clean and elegant and can be kept for years to come (probably until her middle). Then she said ” mama I want floating lights in my rapunzel room”. My first thought was oh no, I don’t wanna put lantern things on the ceiling.  Hmm what about painting something on the wall that mimics the floating lights.


Do you think those gold circles close enough to floating lights ? 🙂

I used my husband’s shoe polish sponge (I don’t think he will realized it until he read this post) and leftover gold paint which I used in guest bedroom makeover in our old place. Unexpectedly the sponge leave the texture which I think make the gold stamps look unique and better.

And the best part is my daughter loves the room. Hope this inspire you!

DIY Sewing- Batik & Embellished Linen Christmas Stocking

I was very excited with this project and couldn’t wait to see them above the fireplace. The complete tutorial can be found here : http://blog.fabricworm.com/2010/12/christmas-stocking-tutorial.html

Initially I was planning to have them all in linen fabric but later I found out it’s only enough for 1 stocking. While digging my fabric stash, I saw this mocha color batik and decided to pair it with the linen.. so here they are!


stocking 1


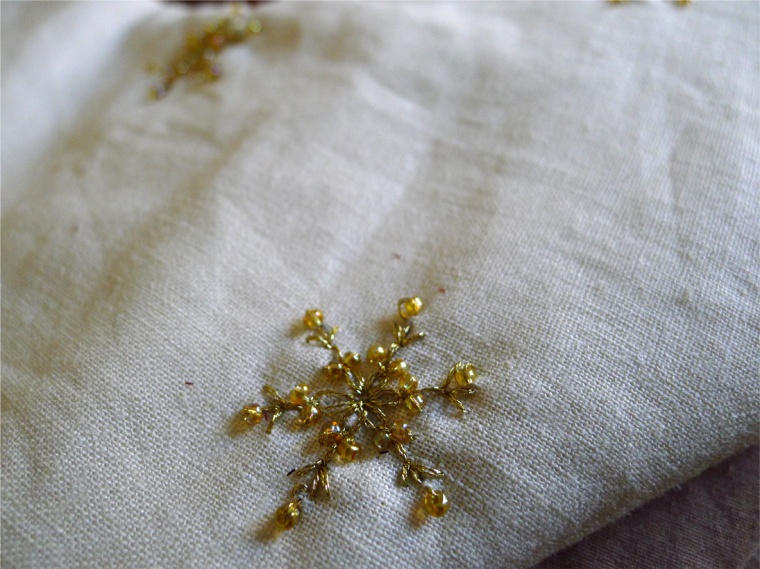
I did snowflake beaded embroidery to add some sparkle on the linen fabric.

stocking 2

stocking 3

Also made mini wreaths.

stocking 4stocking 5


stocking 6

stocking 7