Petite Apron

Made this apron for my friend’s daughter for her birthday. As I know that she likes to help mommy in the kitchen, I thought an apron would be a perfect gift. This was the project I did a month ago, almost forgot to post it.


Kid apron

Yeah.. I know.. You probably have seen this green polkadot fabric everywhere in my projects… can’t help it since I still have lots of this fabric and don’t you think it’s so cute 🙂


Flower Garden Summer Dress

I almost forgot about this one, very late posting because first, this was the project I did a month ago and second, it’s end of summer, look like this dress will be the last summer dress project for this year.

I had so much fun working on this dress, the fabric itself is very inspiring…  happy with the outcome.


flower garden dress 1


flower garden dress 4


flower garden dress 3


flower garden dress 2


flower garden dress 5

Backless Tie Dress

My favorite part of this dress is the blue fabric that I got from JoAnn with 40% coupon. So classy, elegant, and also cute at the same time, children version of toile fabric. The design inspiration came from the romper I saw at Janie&Jack. Instead of romper, I changed it to dress. This dress is very versatile, it can be adjusted to adapt to my little one’s growth. When she is taller I just need to lower the tie, when she is bigger the elastic band on the waist area will still make her comfortable. Hopefully it brings you inspiration!


backless tie dress 1


Isn’t it pretty?


backless tie dress 5


backless tie dress 4


backless tie dress 3


backless tie dress 2

L O V E Applique

It’s been more than a month since my last posting, really that long?? I thought it’s just last week or two weeks ago… and it’s July? already?I guess World Cup and Wimbledon have been keeping me quite disconnect with the calendar.


I am working on dresses for my little one, soon will be posted. Before that, this is my weekend project I did 3 weeks ago, Love applique.


Love applique


love applique 1


Beary Beary Love You, part 2 – Sewing Tote Bag

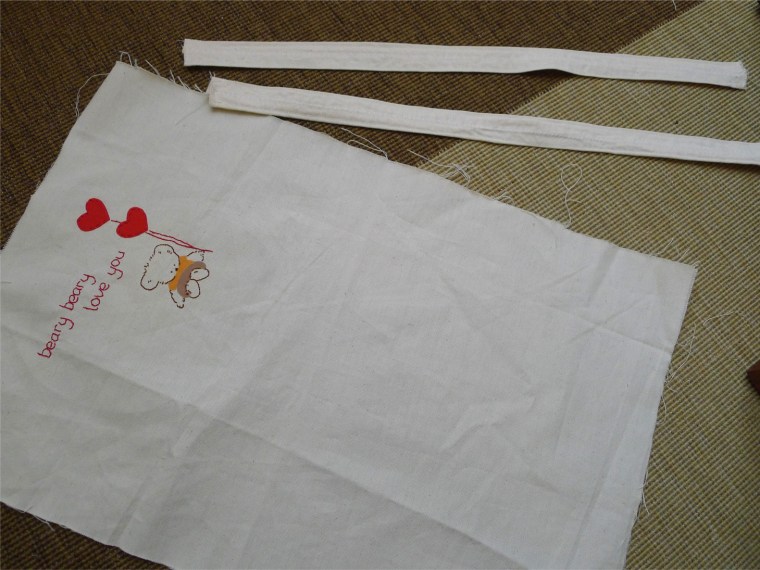
So here come the part 2,  sewing tote bag for my little one. If you miss the previous posting, here is the link. All the materials I used in this project came from my scrap fabric storage therefore the size this tote bag basically based on what scrap fabric size I had.


bear bag 1


I cut the main (the one with bear embroidery) and lining fabric in 14″ x 18″ including 1/4″ seam allowance, the straps is 1″ wide x 12″ long ( finished size).

bear bag 2

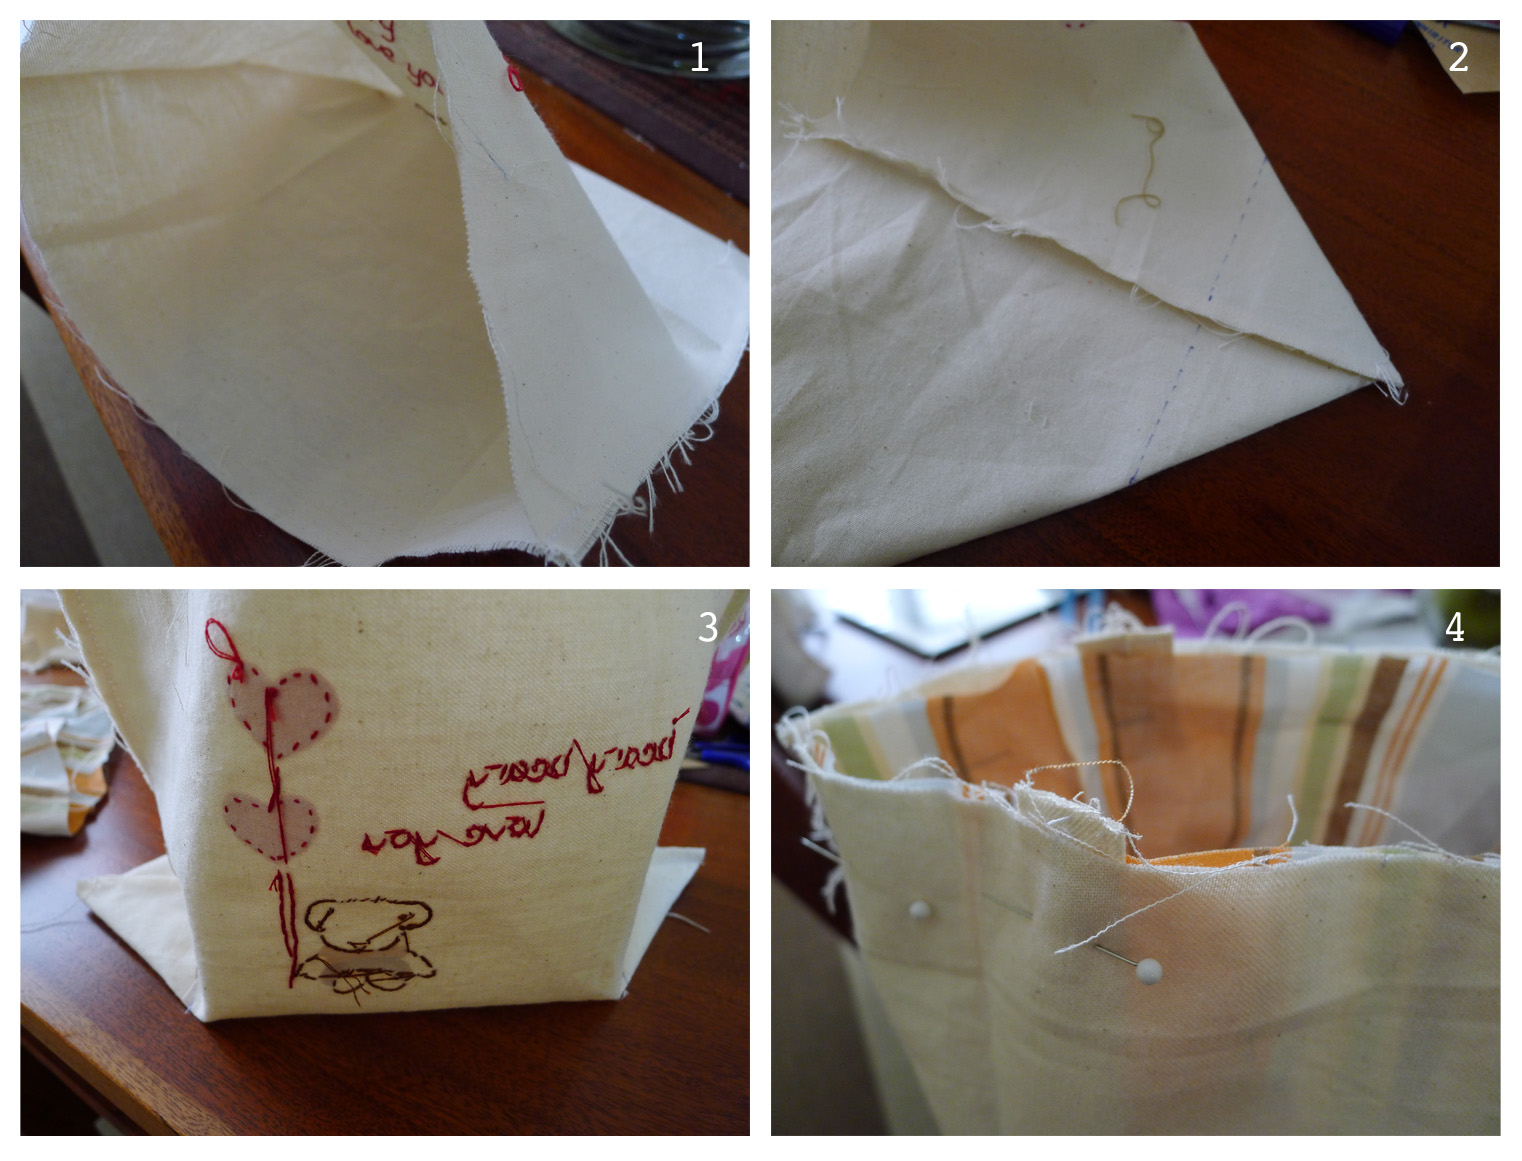
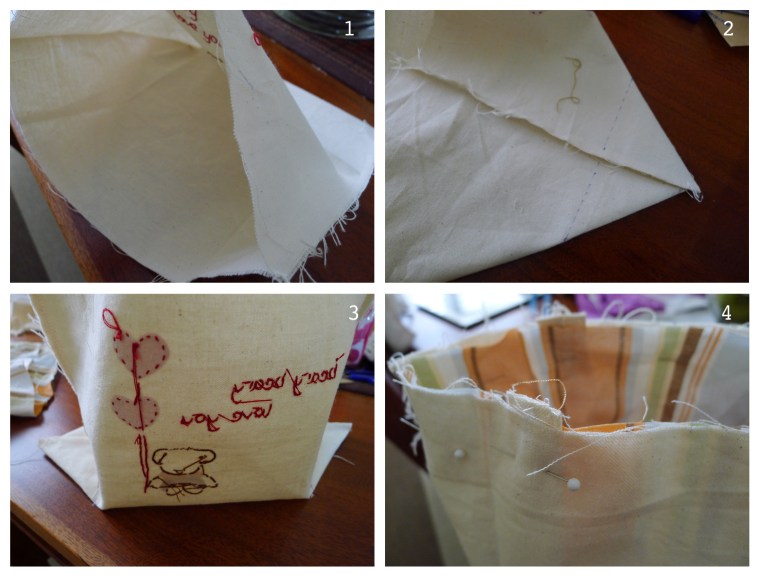
Fold in half and sew the fabric on the longest side with right side facing together. Do the same for the lining. Draw line about 2″ from each corner, sew, then cut the excess. Do the same for the lining.

Turn the main fabric and lining with the right side facing together, position each straps about 3″ from edge, sew the top and leave 2″ opening for flipping.

bear bag 3

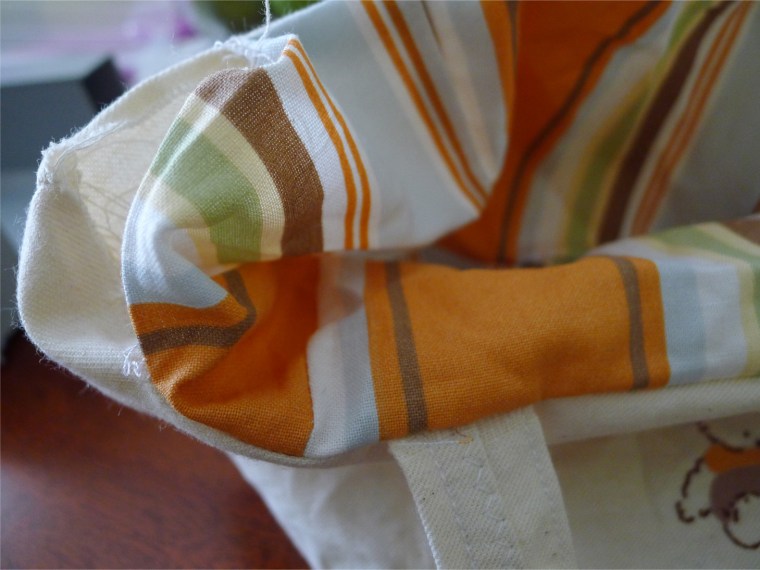
This is the picture after I flip it. Sew the top including the opening.
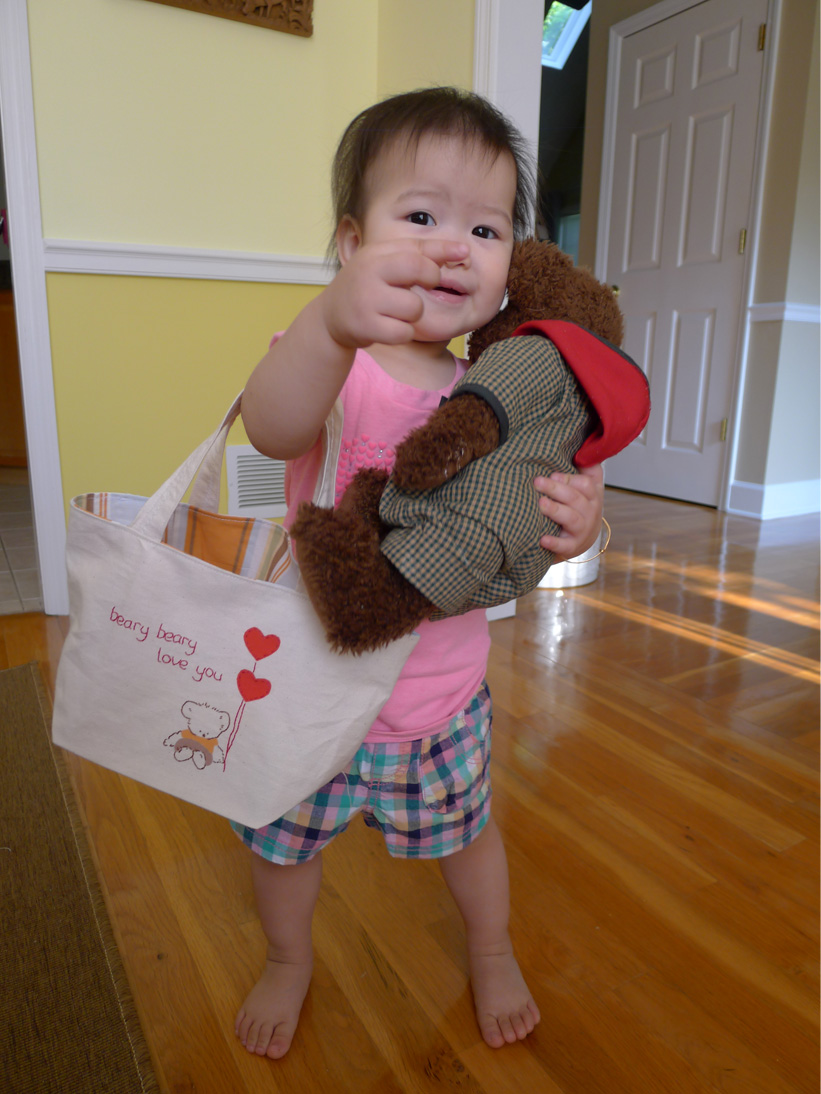
bear bag 4

Project done!

bear bag 5

Seeing my girl liking it is priceless 🙂

bear bag 6