Drunken Snapper Soup

I have this red yeast rice  wine that’s been sitting in my fridge for almost 5 years. My aunt gave me to be used in her fish soup recipe. This recipe here is my own version which tastes as delicious as hers.. I think 🙂

This soup is very oriental, specially because of ginger and gojiberry.

Drunken Snapper 7

Serving 4 medium bowl

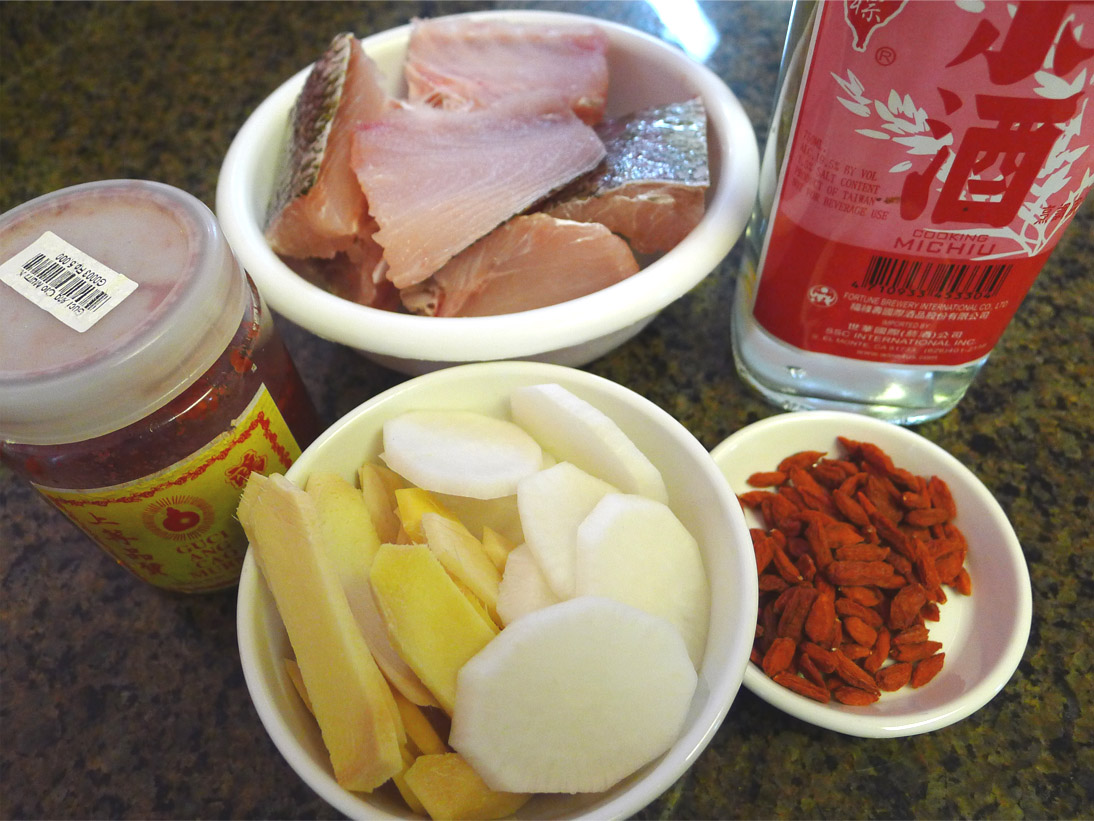
1. Prepare 1 lb. yellow tail snapper fillet (or red snapper), 1/2 C cooking rice wine, 2 tbs red yeast rice wine, 1/4 c gojiberry (rinsed), 1 C sliced radish, 1/2 C sliced ginger, salt to taste.

Drunken Snapper 1

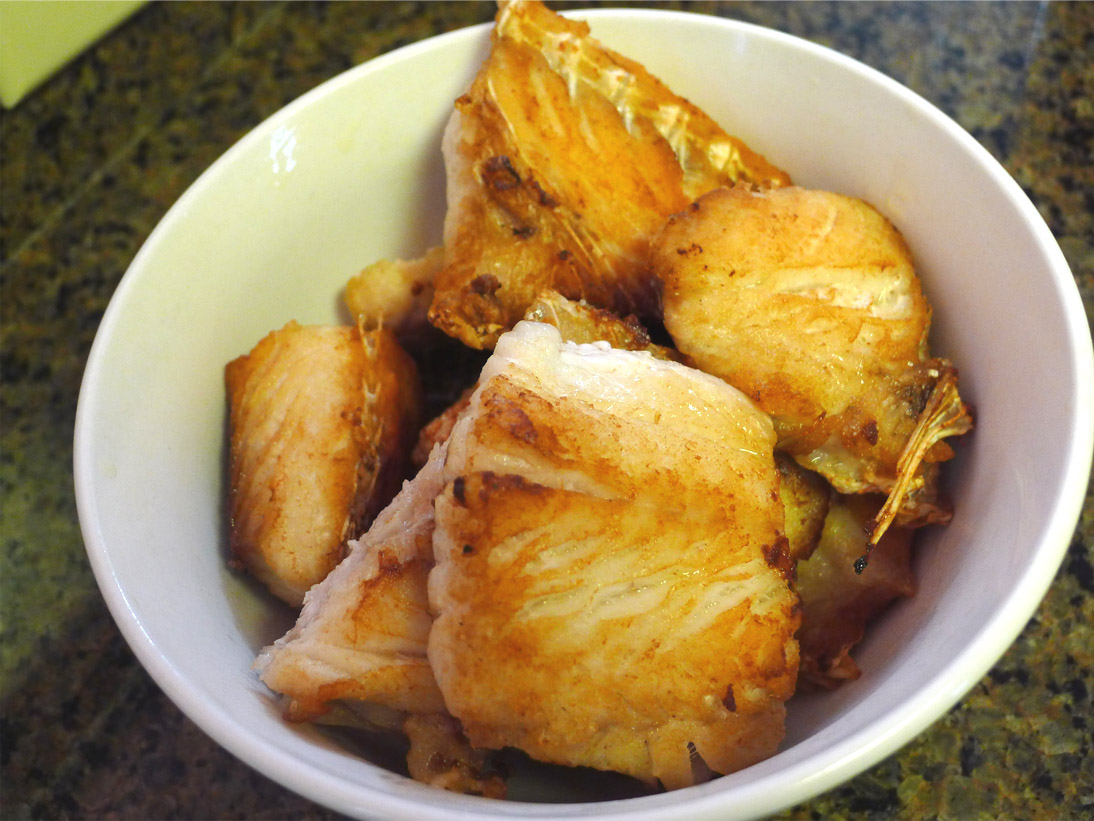
2. Pan fried the snapper fillets in +/- 5 tbs vegetable oil, set aside, leave the oil in pan.

Drunken Snapper 2


Drunken Snapper 3

3. Saute the ginger, add red yeast rice wine and rice cooking wine, stir until the alcohol reduced. Meanwhile cook the radish in 5 C water.

Drunken Snapper 4

4. Pour the ingredient in the pan and gojiberries into the boiled water,  add salt to taste, cook for about 5 mins before add the snapper fillet, cook for another 5-8 mins to get all the flavors in the soup.

Drunken Snapper 5

5. Bon appétit.

Drunken Snapper 6

Lemon Basil Chicken Satay

It’s been months since my last post about cooking. This recipe is inspired by the basil I just planted 🙂

Lemon Basil Chicken Satay

The ingredients are for 1 chicken breast.

1. Cut chicken breast into small pieces.

2. Seasoning: 1/4 cup coconut milk, 1/2 tsp cayenne pepper, 2 tbsp chopped basil leaves, 1/2 tbsp lemon juice, 2 tbsp brown sugar, pinch of salt.

3. Combine chicken and seasoning, put into ziploc bag for 2 hours in the fridge.

4. Grill with skewer, add sweet soy sauce when serving.

5. Bon appétit

Embroidery Hoop Wall Decor

I’m sure you’d agree with me that Pinterest is a fantastic source for ideas and inspirations. I could spend hours just looking at tons of pictures there, well that’s before I have my little M … now I’d be lucky to be able to visit it once a day :). There was a pin in home decor section using embroidery hoop for wall decor, the inspiration for my project to make DIY wall decor for my baby’s room, so here it is hopefully it inspires you too!

hoop 12

1. Attach the fabric background onto the hoop. I used plain creamy fabric to get vintage look.

hoop 1

2. Print & cut the letters, trace & cut the felt.

hoop 2

hoop 3

3. Stitch the felt letters to the fabric.

hoop 7

hoop 8

4. Satin Peonies.

You can find many videos in youtube about how to make fabric flower with this technique. To get a nice layer I used more than 1 color, cut them in 3 diameter sizes, cut the edge into 5 parts,  slightly burn it, then stack them together and secure by stitches. I made these flowers last year, actually I was thinking to make them as headband, so I don’t have photos showing details step by step, sorry :(.

hoop 4

hoop 5

hoop 6

5. Cute butterfly

To add contrast to the pink color theme I used aqua blue scrap fabric from last batik project, wire for the wing frame, and crocheted gray yarn for the body.

hoop 9


hoop 10


hoop 11

6. Put all together.

hoop 13


hoop 15


hoop 14

Koala Crochet & Initial Art – DIY

When I found the crochet pattern (link : Koala pattern) for this cute Koala, I couldn’t resist to try it right away … such a cute amigurumi. I made  a pair of it then put them with M wood initial for my baby nursery. Hopefully my little M will like it as much as I do …happy with how it turns out.

M is for Michelle


Making each parts.

Koala 1

After stitching all parts together.

Koala 5

A pair of it posed together 🙂

Koala 3

Koala 4

Koala 2

The wood initial for my little M.

Koala 6

Done!!

Koala 7


Koala 8


Baby shirt crochet & applique – DIY

When we left hospital last month, we got 1 dozen plain white newborn shirt …. actually some of them are 3m baby size. My baby wore this shirt home and whenever I put it on her or fold it after laundry I still feel amazed how time goes so fast and can’t believe she is here with me :). Now that she’s graduated from newborn to 1m baby I want to make this plain white shirt looks more special with some flower and color.

Onesies 7


The hospital plain white shirt.

Onesies 1


I used embroidery thread and crochet hook D. The pattern is from http://www.aestheticnest.com.

Crochet pattern :

Chain 4, Slst.

R1: Ch2. 9dc in center of the ring. (10dc)

R2: Ch5. Skip next dc. *1dc in next dc. Ch3. Skip next dc.** repeat * to **. Slst in 2nd Ch of beginning Ch5. (total 5 Ch3 spaces)

R3: working on the Ch3 space (sc, hdc, 3dc, hdc, sc). Slst in the 1st sc (5 petals)

Onesies 2


R4 : working on the skipped dc in R1, change color if you want. Ch3. *Slst in the next skipped dc. Ch3**. Repeat * to **, Slst in the base of 1st ch3. (total 5 ch3 spaces)

R5: working on Ch3 space (sc, hdc, 2 dc, hdc, sc). Slst in the 1st sc. (total 5 petals)

Onesies 3


For leaf, I used scrap fabric from Fun with batik: living room pillow project.

Onesies 4


Stitch the crochet flower onto the shirt.

Onesies 5


Onesies 6


My Baby 1m limited edition shirt!!!

Onesies 8