DIY Baby Headband

These are the little projects I did when I was visiting my family in Indonesia last December, 13- January, 14, handmade headbands for my little one. The red one was specially made for her 1st birthday party, the pink one was for her christening, which both took place in Jakarta, Indonesia.

Hopefully it brings you inspiration!

headband 1

headband 2

headband 5

headband 3

headband 4

Baby shirt crochet & applique – DIY

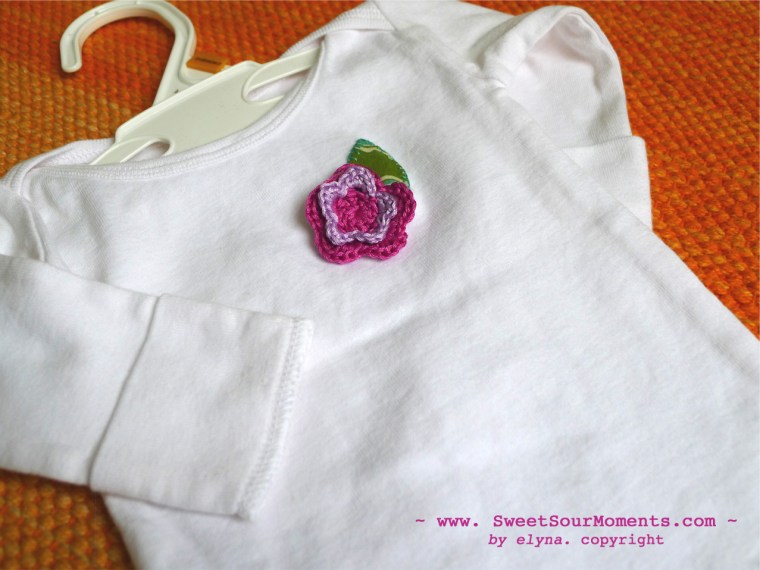
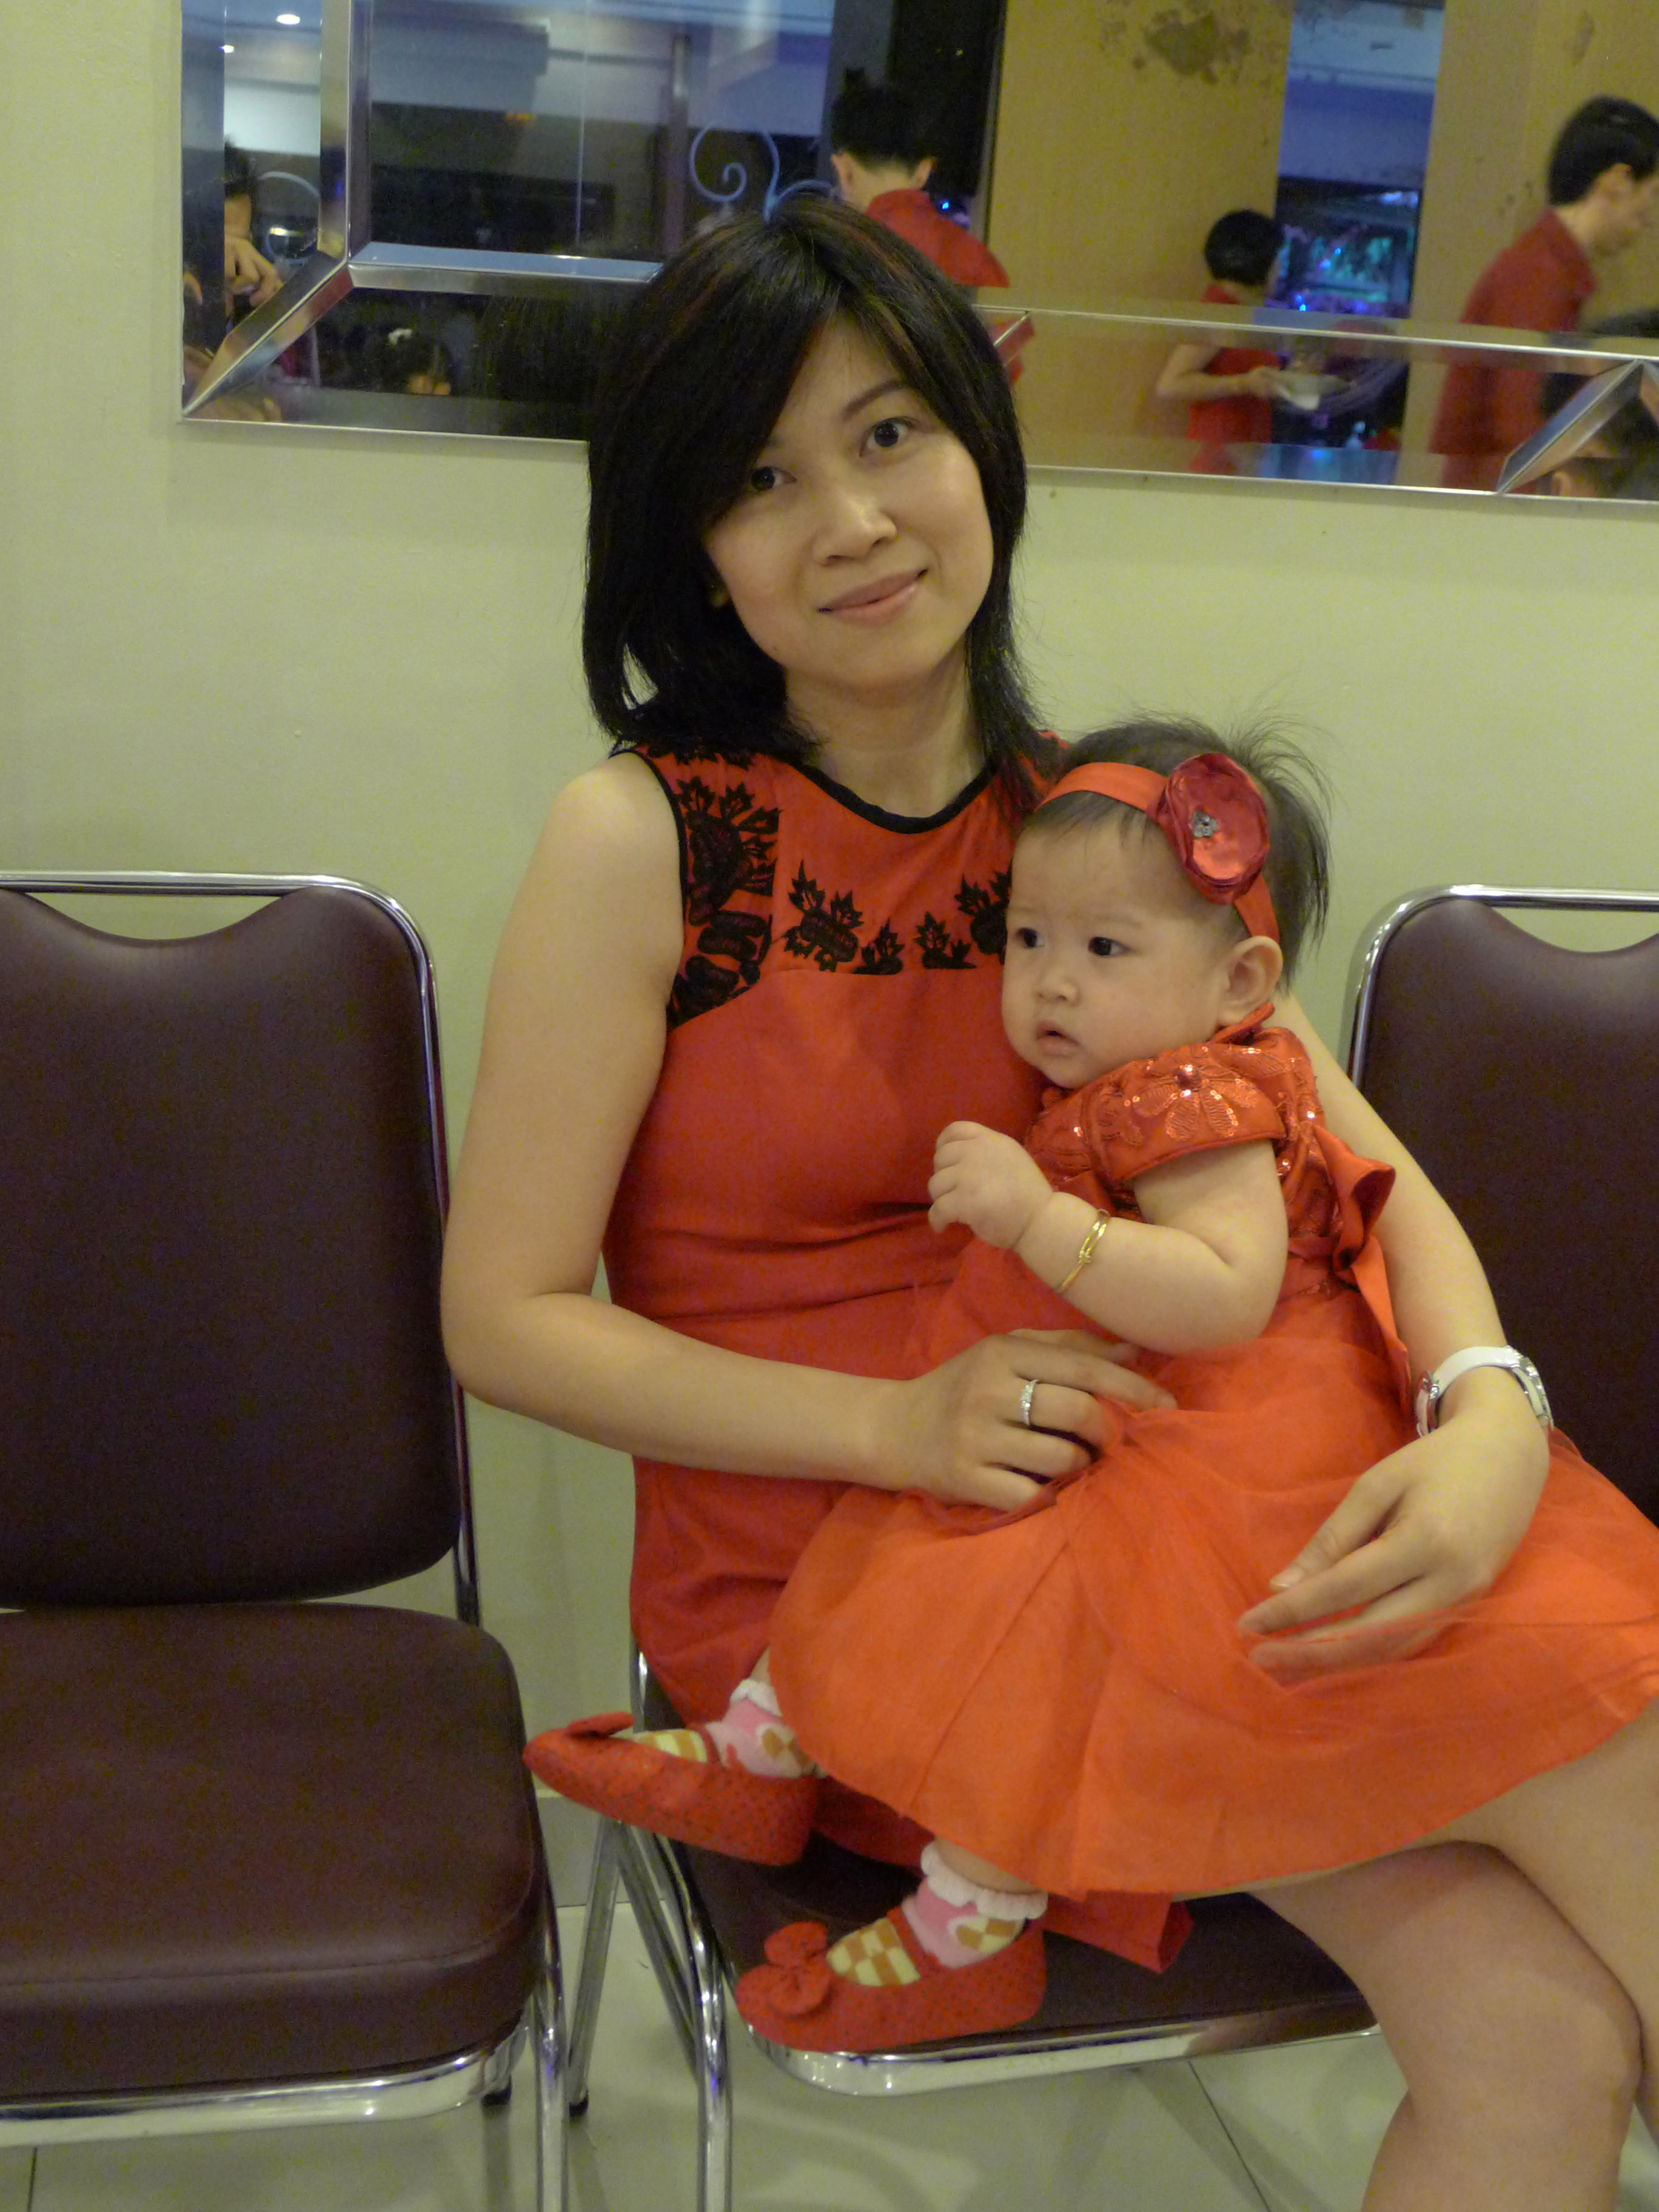
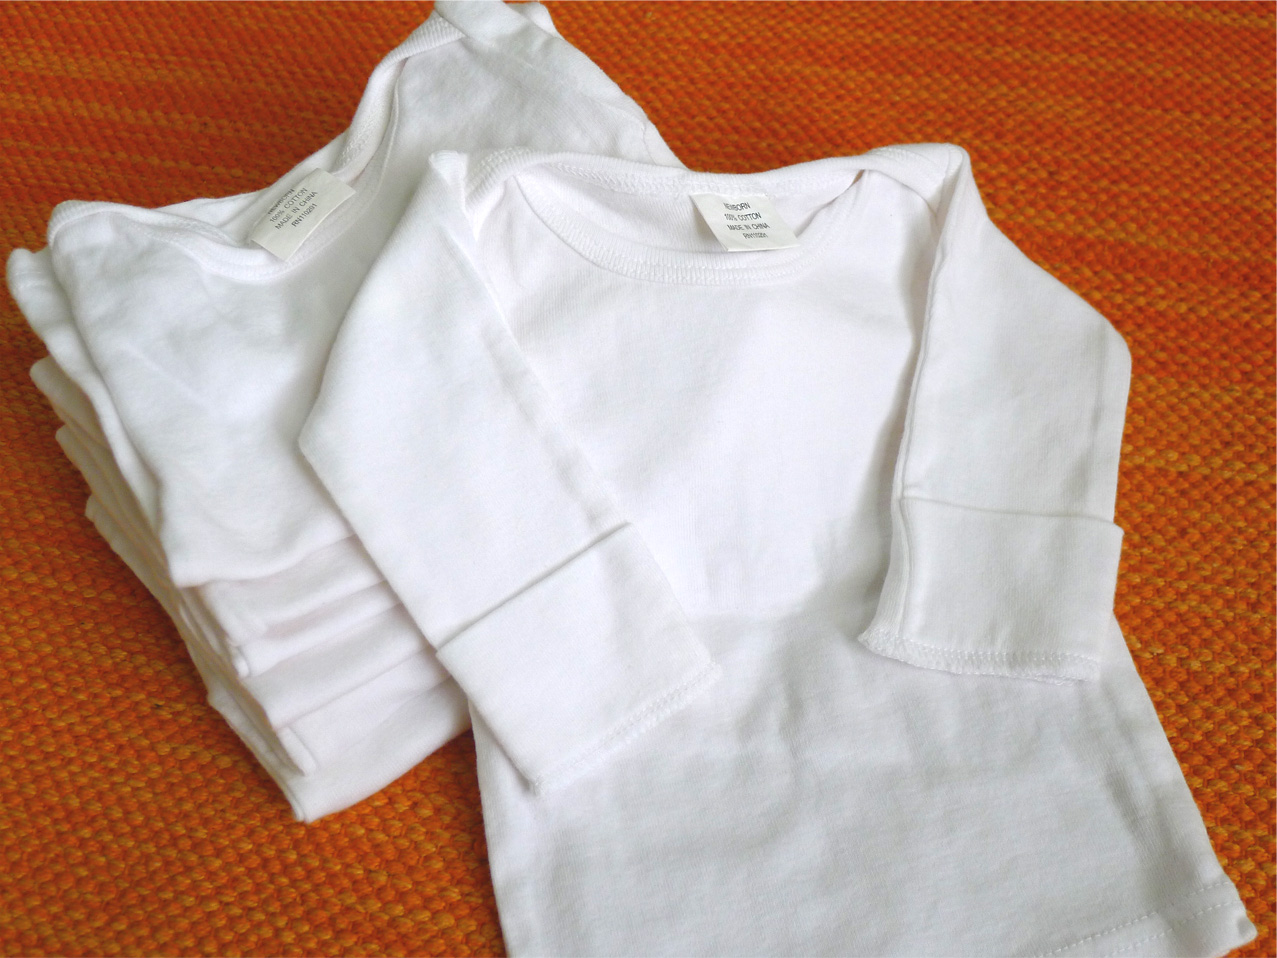
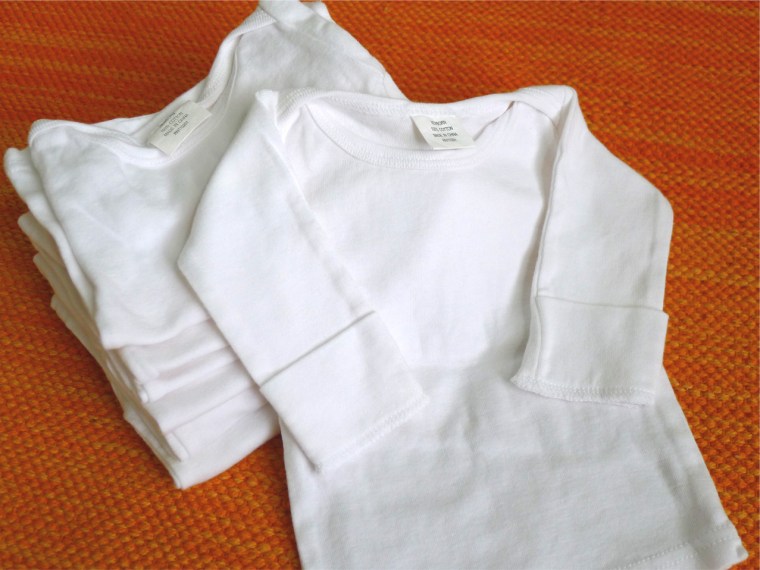
When we left hospital last month, we got 1 dozen plain white newborn shirt …. actually some of them are 3m baby size. My baby wore this shirt home and whenever I put it on her or fold it after laundry I still feel amazed how time goes so fast and can’t believe she is here with me :). Now that she’s graduated from newborn to 1m baby I want to make this plain white shirt looks more special with some flower and color.

Onesies 7


The hospital plain white shirt.

Onesies 1


I used embroidery thread and crochet hook D. The pattern is from http://www.aestheticnest.com.

Crochet pattern :

Chain 4, Slst.

R1: Ch2. 9dc in center of the ring. (10dc)

R2: Ch5. Skip next dc. *1dc in next dc. Ch3. Skip next dc.** repeat * to **. Slst in 2nd Ch of beginning Ch5. (total 5 Ch3 spaces)

R3: working on the Ch3 space (sc, hdc, 3dc, hdc, sc). Slst in the 1st sc (5 petals)

Onesies 2


R4 : working on the skipped dc in R1, change color if you want. Ch3. *Slst in the next skipped dc. Ch3**. Repeat * to **, Slst in the base of 1st ch3. (total 5 ch3 spaces)

R5: working on Ch3 space (sc, hdc, 2 dc, hdc, sc). Slst in the 1st sc. (total 5 petals)

Onesies 3


For leaf, I used scrap fabric from Fun with batik: living room pillow project.

Onesies 4


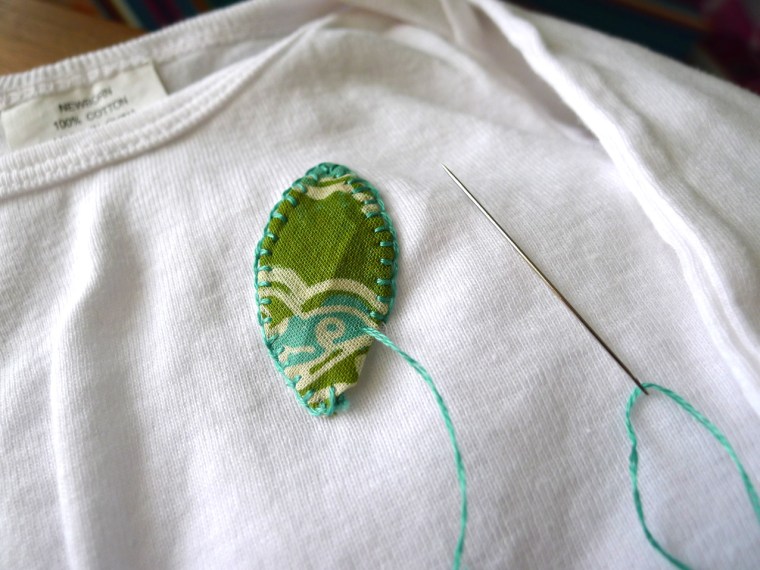
Stitch the crochet flower onto the shirt.

Onesies 5


Onesies 6


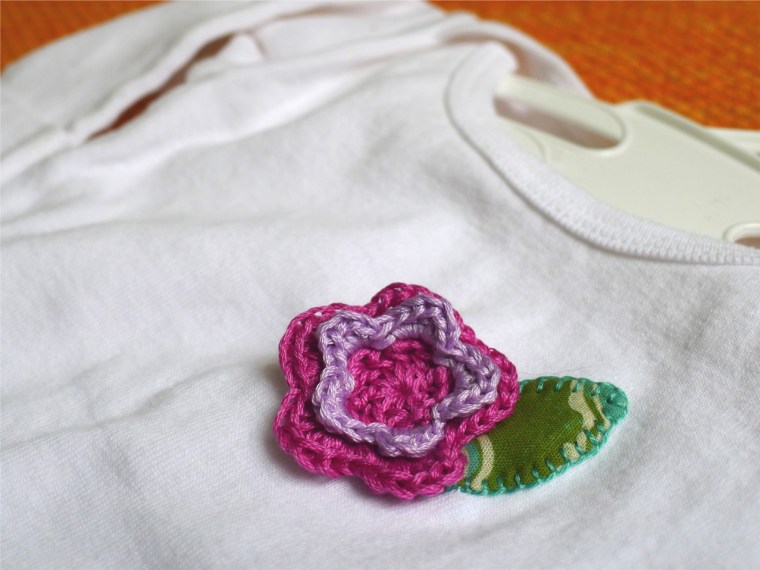
My Baby 1m limited edition shirt!!!

Onesies 8

Baby Nursery – part 3: Curtain DIY

My 3rd post for Baby Nursery… As mentioned in previous post (baby nursey-part 1), the color theme for this nursery is blue and orange. Although blue seems to dominate the room since it’s applied as wall paint color, orange gives a bold character to the room when used as accessories or decoration, curtain is one of them.

Got the fabric for the curtain on sale at $6.69/yard at fabric.com … I had been looking for fabric in orange color, with fun pattern, thick material, and good price. When it arrived I was so happy, it was all that I looked for.. the print quality is nice and the cotton duck fabric looks expensive. If you are looking for customized window covering, instead of DIY project, maybe this website can help PaylessDecor.

Curtain nursery 1

The fabric bought at Fabric.com

Curtain nursery 2

Iron the hem for upper and bottom edges in with 1/4″ allowance.

Curtain nursery 3

Sew the pocket strips onto upper hem.

Curtain nursery 4

Love the color!

Curtain nursery 5

Customized Store Bought Curtain

Still working on the guest bedroom, now is the window dressing. I saw this nice pair of curtain in clearance section, yes I knew the height is less than what I wanted but I like the fabric very much, it’s sheer fabric with satin strips and its color is just what the room needs, combination between gold and khaki, and the best thing is the price, perfect! To make it works and also to give my own personal touch, I decided to add linen fabric and satin ribbon.

1. The Linen and Satin ribbon.

I think Linen makes a good pair with sheer fabric, it adds texture. The Satin ribbon mimics the Satin strip on the original curtain.

2. Sewing the Ribbon and Linen.


3. Window dressing : check! one more item removed from the list.

Pillow Sham – DIY

Since the guest bedroom bed doesn’t have headboard, I put these pillow shams to add the height and also act like a headboard (kind of). As mentioned in previous post, as the result of the wrong color paint I need to work around the gold circle stamp accent wall while decorating this room, so I picked this brown geometric fabric from JoAnn store with 50% + 25% discount, what a great deal! I’ve already had 2 big pillows in 26″x 26″ size, the pillow sham is sewn in 25″x 25″, smaller, for puffiness.


1. The front fabric, the linen back fabric, the back lining fabric (for lining the linen).


2. Cut fabrics, add 4″ overlapping fabric for the back, plus seam allowance ( I used 1/4″). I added another 1/4″ seam allowance for back lining in order the wrap the edge in final step to cover frayed fabric.

3. A. fabric arrangement; B. Sew the back fabric (linen) and lining fabric; C. Sew all the fabrics with right side facing together; D. wrap the edge with lining fabric to avoid fraying.

4. Flip inside out, here is the closer look at the back.

5. Finished! happy with how the looks against the accent wall 🙂