Baby Nursery – part 3: Curtain DIY

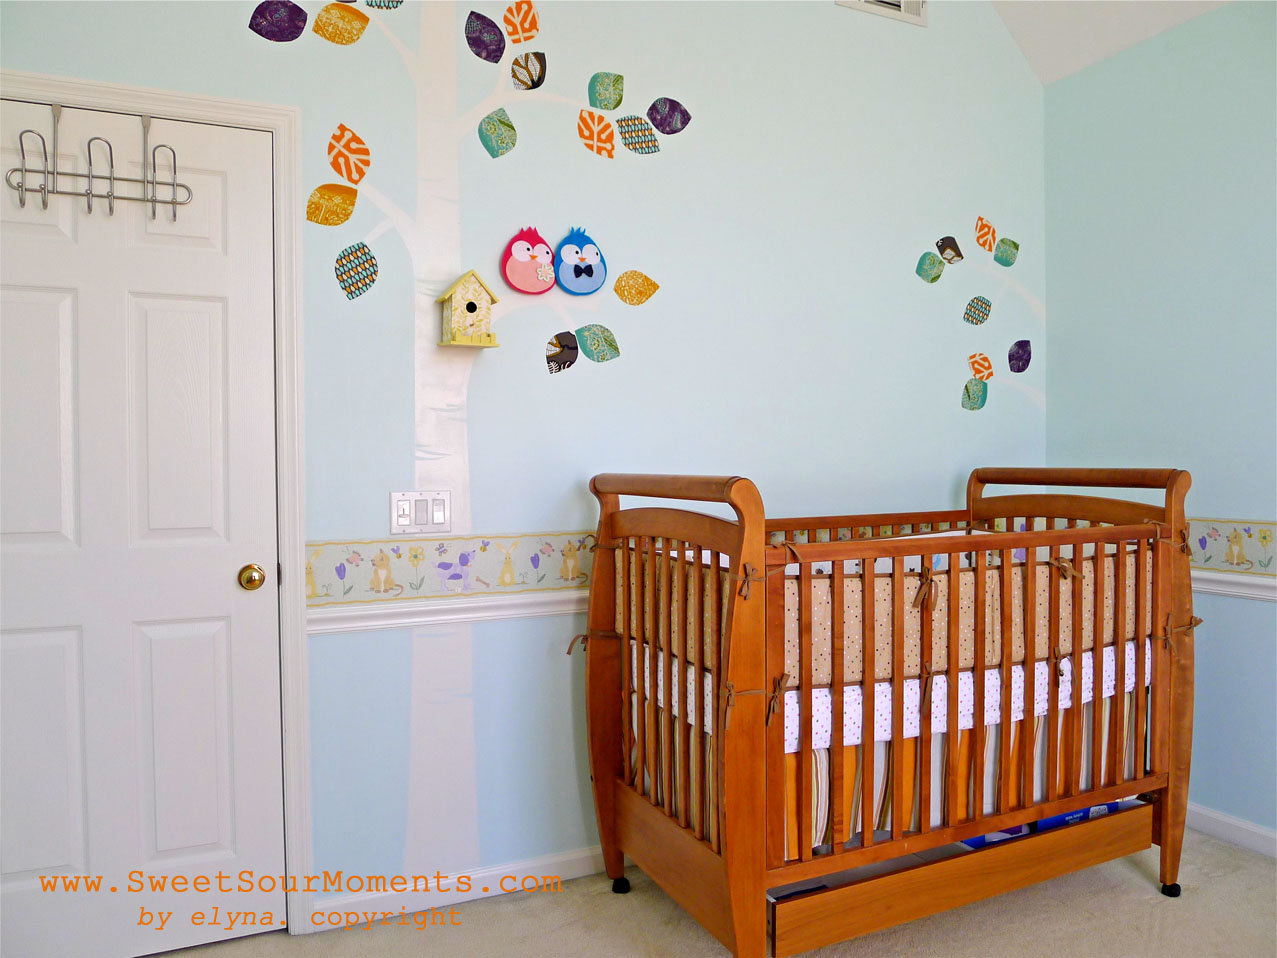
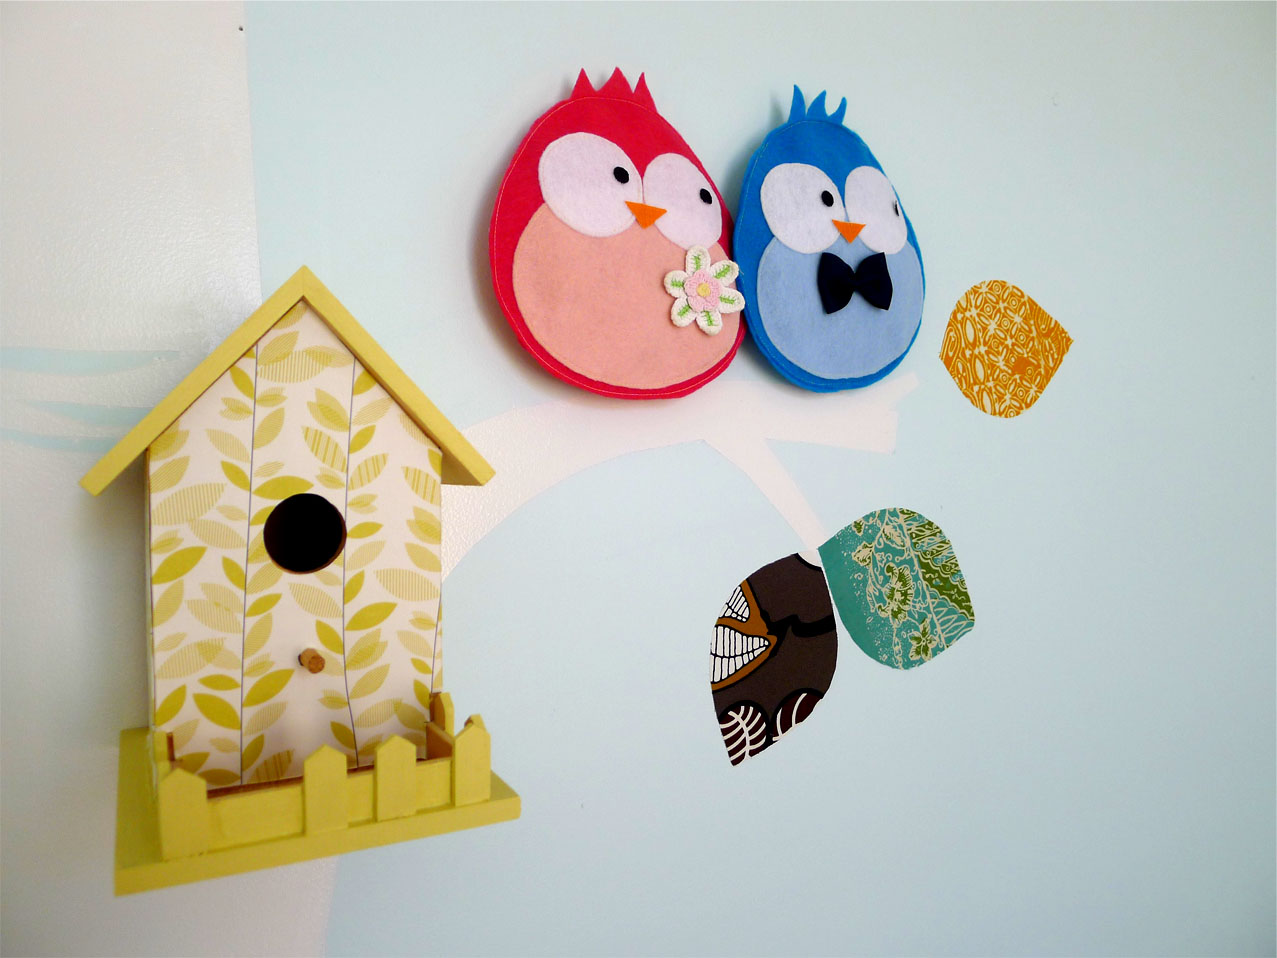
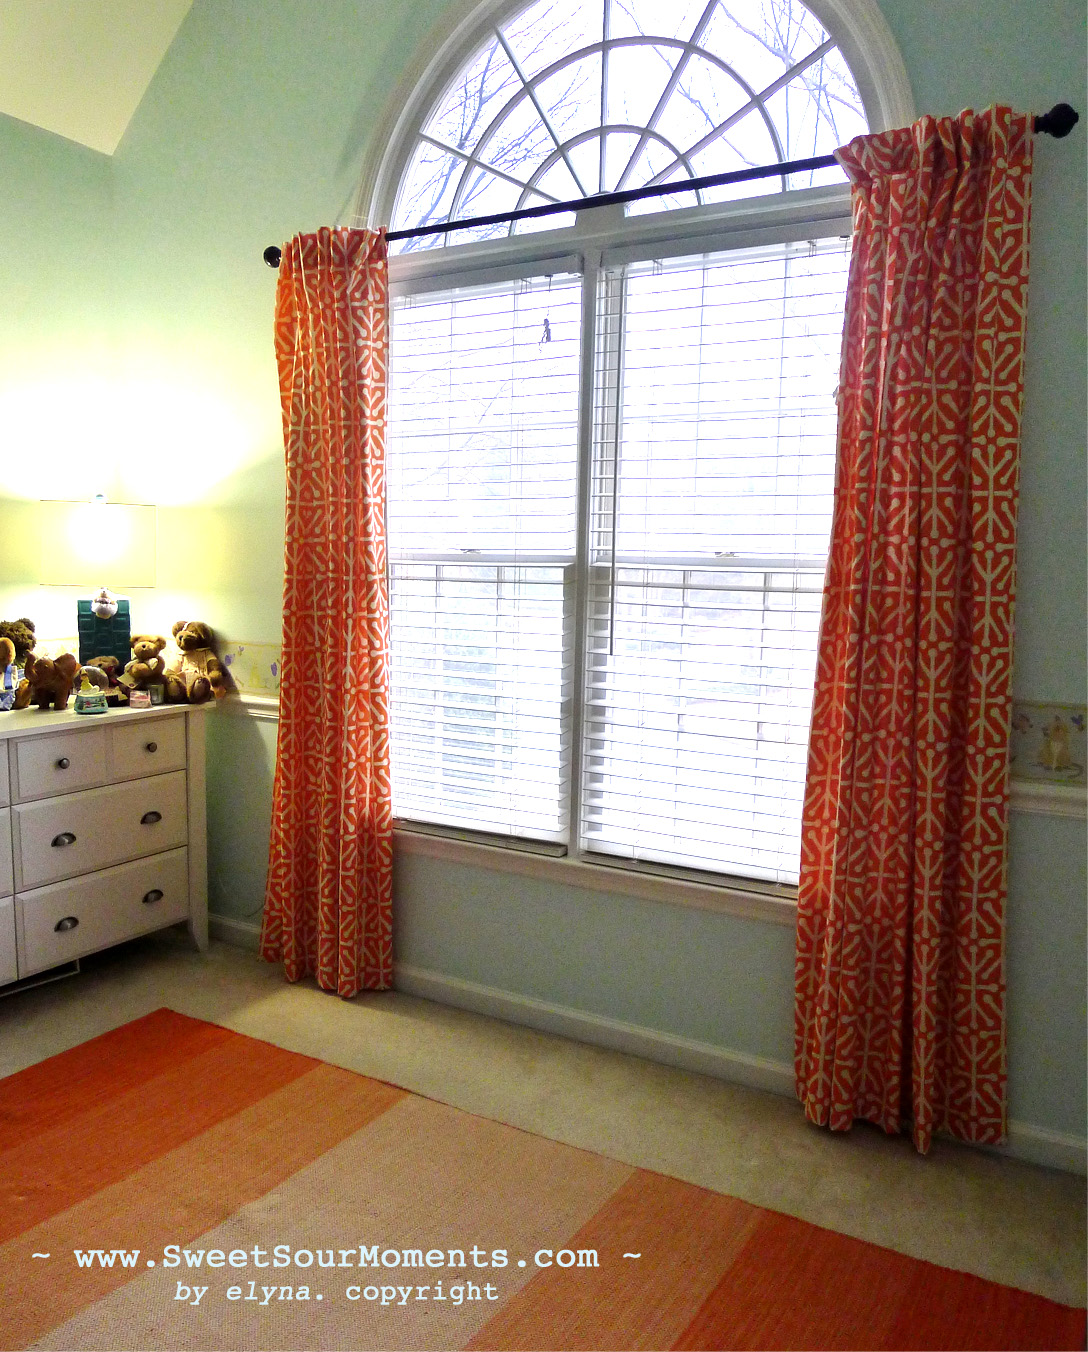
My 3rd post for Baby Nursery… As mentioned in previous post (baby nursey-part 1), the color theme for this nursery is blue and orange. Although blue seems to dominate the room since it’s applied as wall paint color, orange gives a bold character to the room when used as accessories or decoration, curtain is one of them.

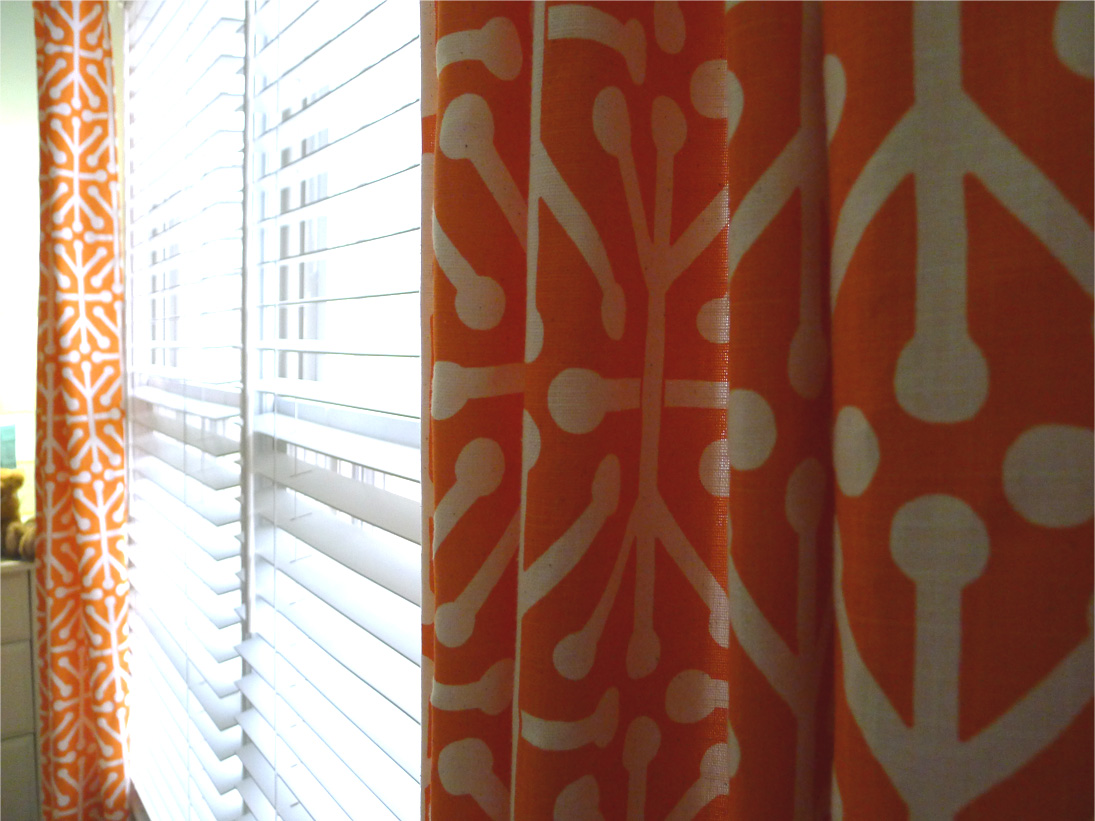
Got the fabric for the curtain on sale at $6.69/yard at fabric.com … I had been looking for fabric in orange color, with fun pattern, thick material, and good price. When it arrived I was so happy, it was all that I looked for.. the print quality is nice and the cotton duck fabric looks expensive. If you are looking for customized window covering, instead of DIY project, maybe this website can help PaylessDecor.

Curtain nursery 1

The fabric bought at Fabric.com

Curtain nursery 2

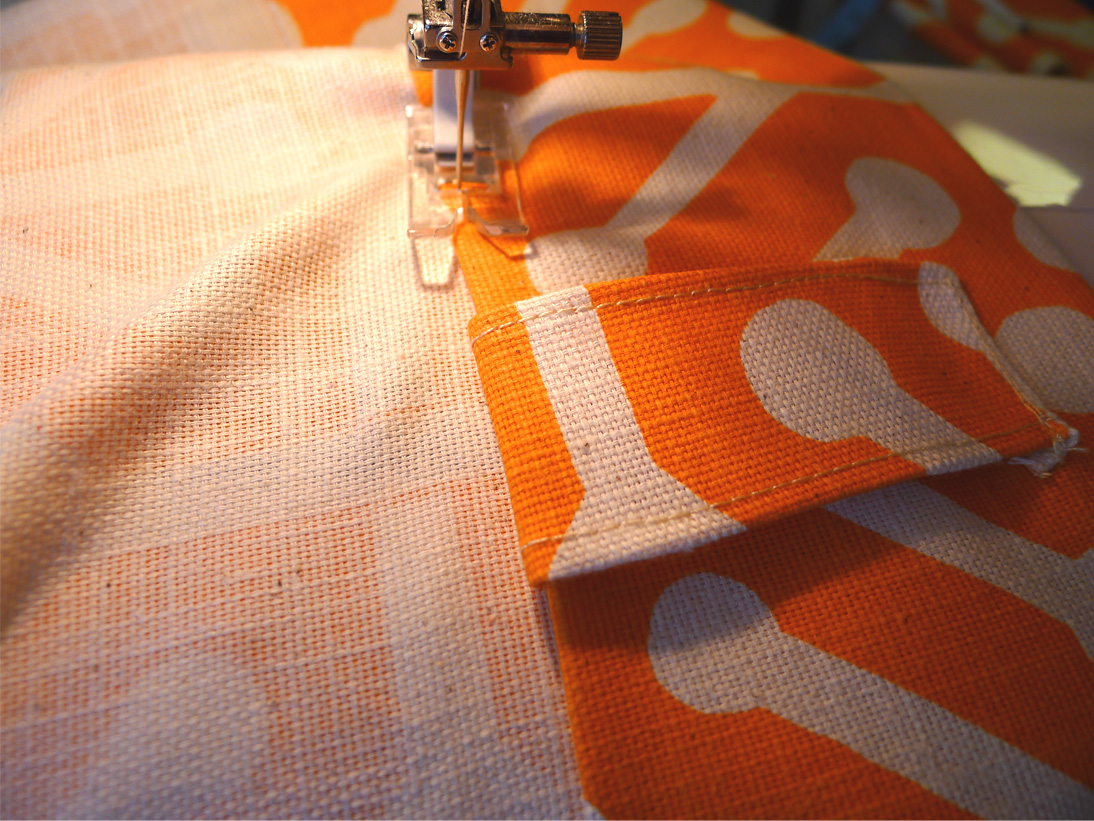
Iron the hem for upper and bottom edges in with 1/4″ allowance.

Curtain nursery 3

Sew the pocket strips onto upper hem.

Curtain nursery 4

Love the color!

Curtain nursery 5

Baby Nursery – part 1: Wall Mural DIY

Decorating baby nursery is all about fun! The hardest part was actually picking the color … For my baby girl, I want her room to feel neutral with girly touch here and there, definitely not pink room. The theme is sunshine in the morning sky (sounds like movie or song ^.^ ), the color pallet is orange and blue. I made several DIY projects for this baby nursery which will be posted separately, so don’t forget to return to my blog for future posts 🙂

Part 1 of baby nursery project is wall mural.

baby nursery wall 1


The room has the wallpaper border around above the chair rail. Since it’s still in good condition and works well with my decor plan, I decided to leave it and go ahead with painting the wall.

baby nursery wall 2


Next, drawing and painting the trunk.

baby nursery wall 3


Preparing the leaves using scrap fabric.

baby nursery 4


Attaching the leaves. Spray wet and thoroughly the fabric with liquid starch (for ironing the cloth). When dried it will stay nicely on the wall.

baby nursery 5

baby nursery wall 6


The bird house. Got it for $1 at JoAnn during sale. Painted with left over dining room yellow color paint then covered with wrap paper.

baby nursery wall 7

baby nursery wall 8


The Birds. I Saw these birds at Etsy shop, it looked quite simple so I just DIY-it. What you need is felt, orange & black scrap fabric, and extra accessories to dress them up.

baby nursery wall 9

baby nursery wall 10


baby nursery wall after

Guest Bedroom Decor Revealed – DIY

Finally, guest bedroom project is finished, actually I finished it last month but hadn’t had chance to update the post for a while.

guest bedrppm reveal


The DIYs for this room can be found here :

circle wall stamp : https://sweetsourmoments.com/2012/10/25/wall-stamp-to-save-wrong-paint-color/

customized curtain : https://sweetsourmoments.com/2012/11/06/customized-store-bought-curtain/

pillow shams : https://sweetsourmoments.com/2012/11/05/pillow-sham-diy/

bedside table : https://sweetsourmoments.com/2012/11/08/budget-bedside-table-makeover-diy/


Alphabet Wall Decor

I’ve had this pretty wrapping paper since last year, it was from WorldMarket. At that time I had no idea what it will be used for, it was just so pretty I couldn’t resist to grab it. The color is one of my favorite, the drawing looks like hand painting, and it’s thick with luxury texture.It works well with the wall decor I recently planned to make for the special room I am decorating at this moments. The wall decor idea is from Etsy shop. Instead of printing poster, I want it to be more personal with custom look, so here is my DIY Alphabet wall decor.

This is the printing poster from Etsy.

This rustic frame adds more nice details, like it very much.

The wrapping paper, pretty isn’t it ?

I used Sherwin William paint swatches for the letters, it adds depth to the finish instead of printing.

Wrapped the mat with wrapping paper, this is what it looks like before attaching the letter.

Print the letter on piece of paper, cut, glue to the paint swatch, then glue to the background.

Hopefully it brings you inspiration 🙂